
Troubleshooting newsletter signup widgets: How to Not Spend $40 on a Free Version of WordPress
I decided to investigate the main problems that users of popular ESPs face when creating email subscription for website and setting up basic automation. In this post, we will look at how to add a subscription form in WordPress without breaking the bank — because doing a simple task like creating a lead magnet subscription form can get expensive.
It costs $40 to implement simple mechanics with free versions of WordPress, MailerLite, and Mailchimp
Here’s a real example: an author of a WordPress blog sets a goal to convert visitors into subscribers. Their solution is to place a MailerLite subscription form on their blog and send a lead magnet to everyone who has registered.
The author needs a simple email newsletter form where you enter your email and click the subscribe button to subscribe to the newsletter. On the ESP’s side, they require simple automation to send a lead magnet to each new subscriber.
Problem: The free version of WordPress does not accept the MailerLite code and asks you to install the plugin. You need to pay $40/month for a WordPress Business account to install it.
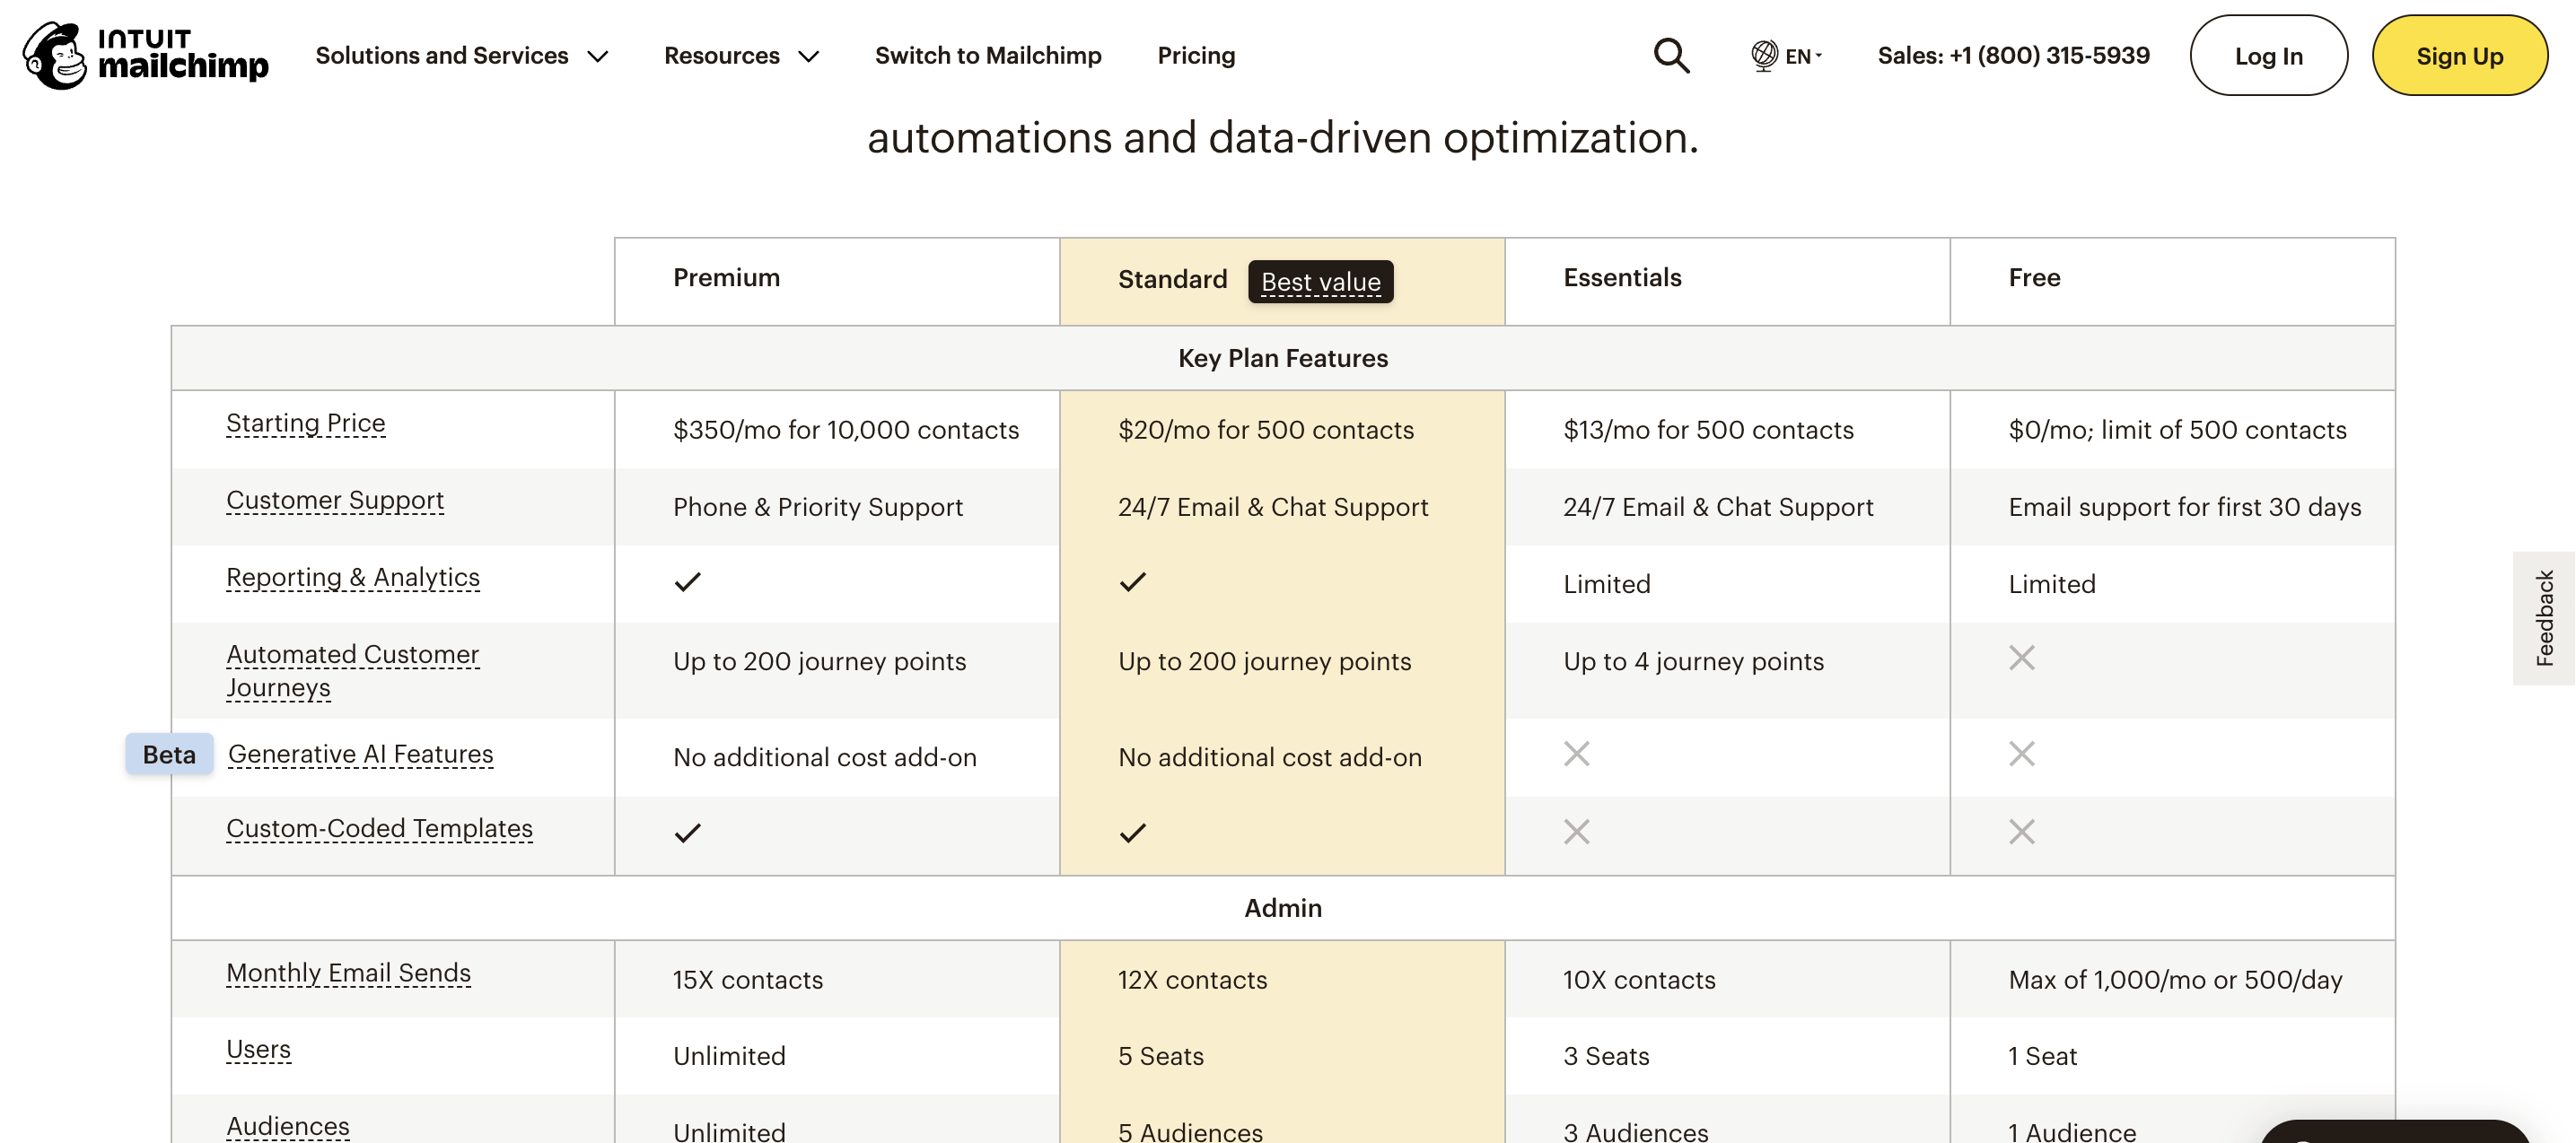
The author discovers that Mailchimp can seamlessly connect to WordPress and replaces MailerLite with Mailchimp. However, the free plan does not offer automation when setting up the first email with a lead magnet.
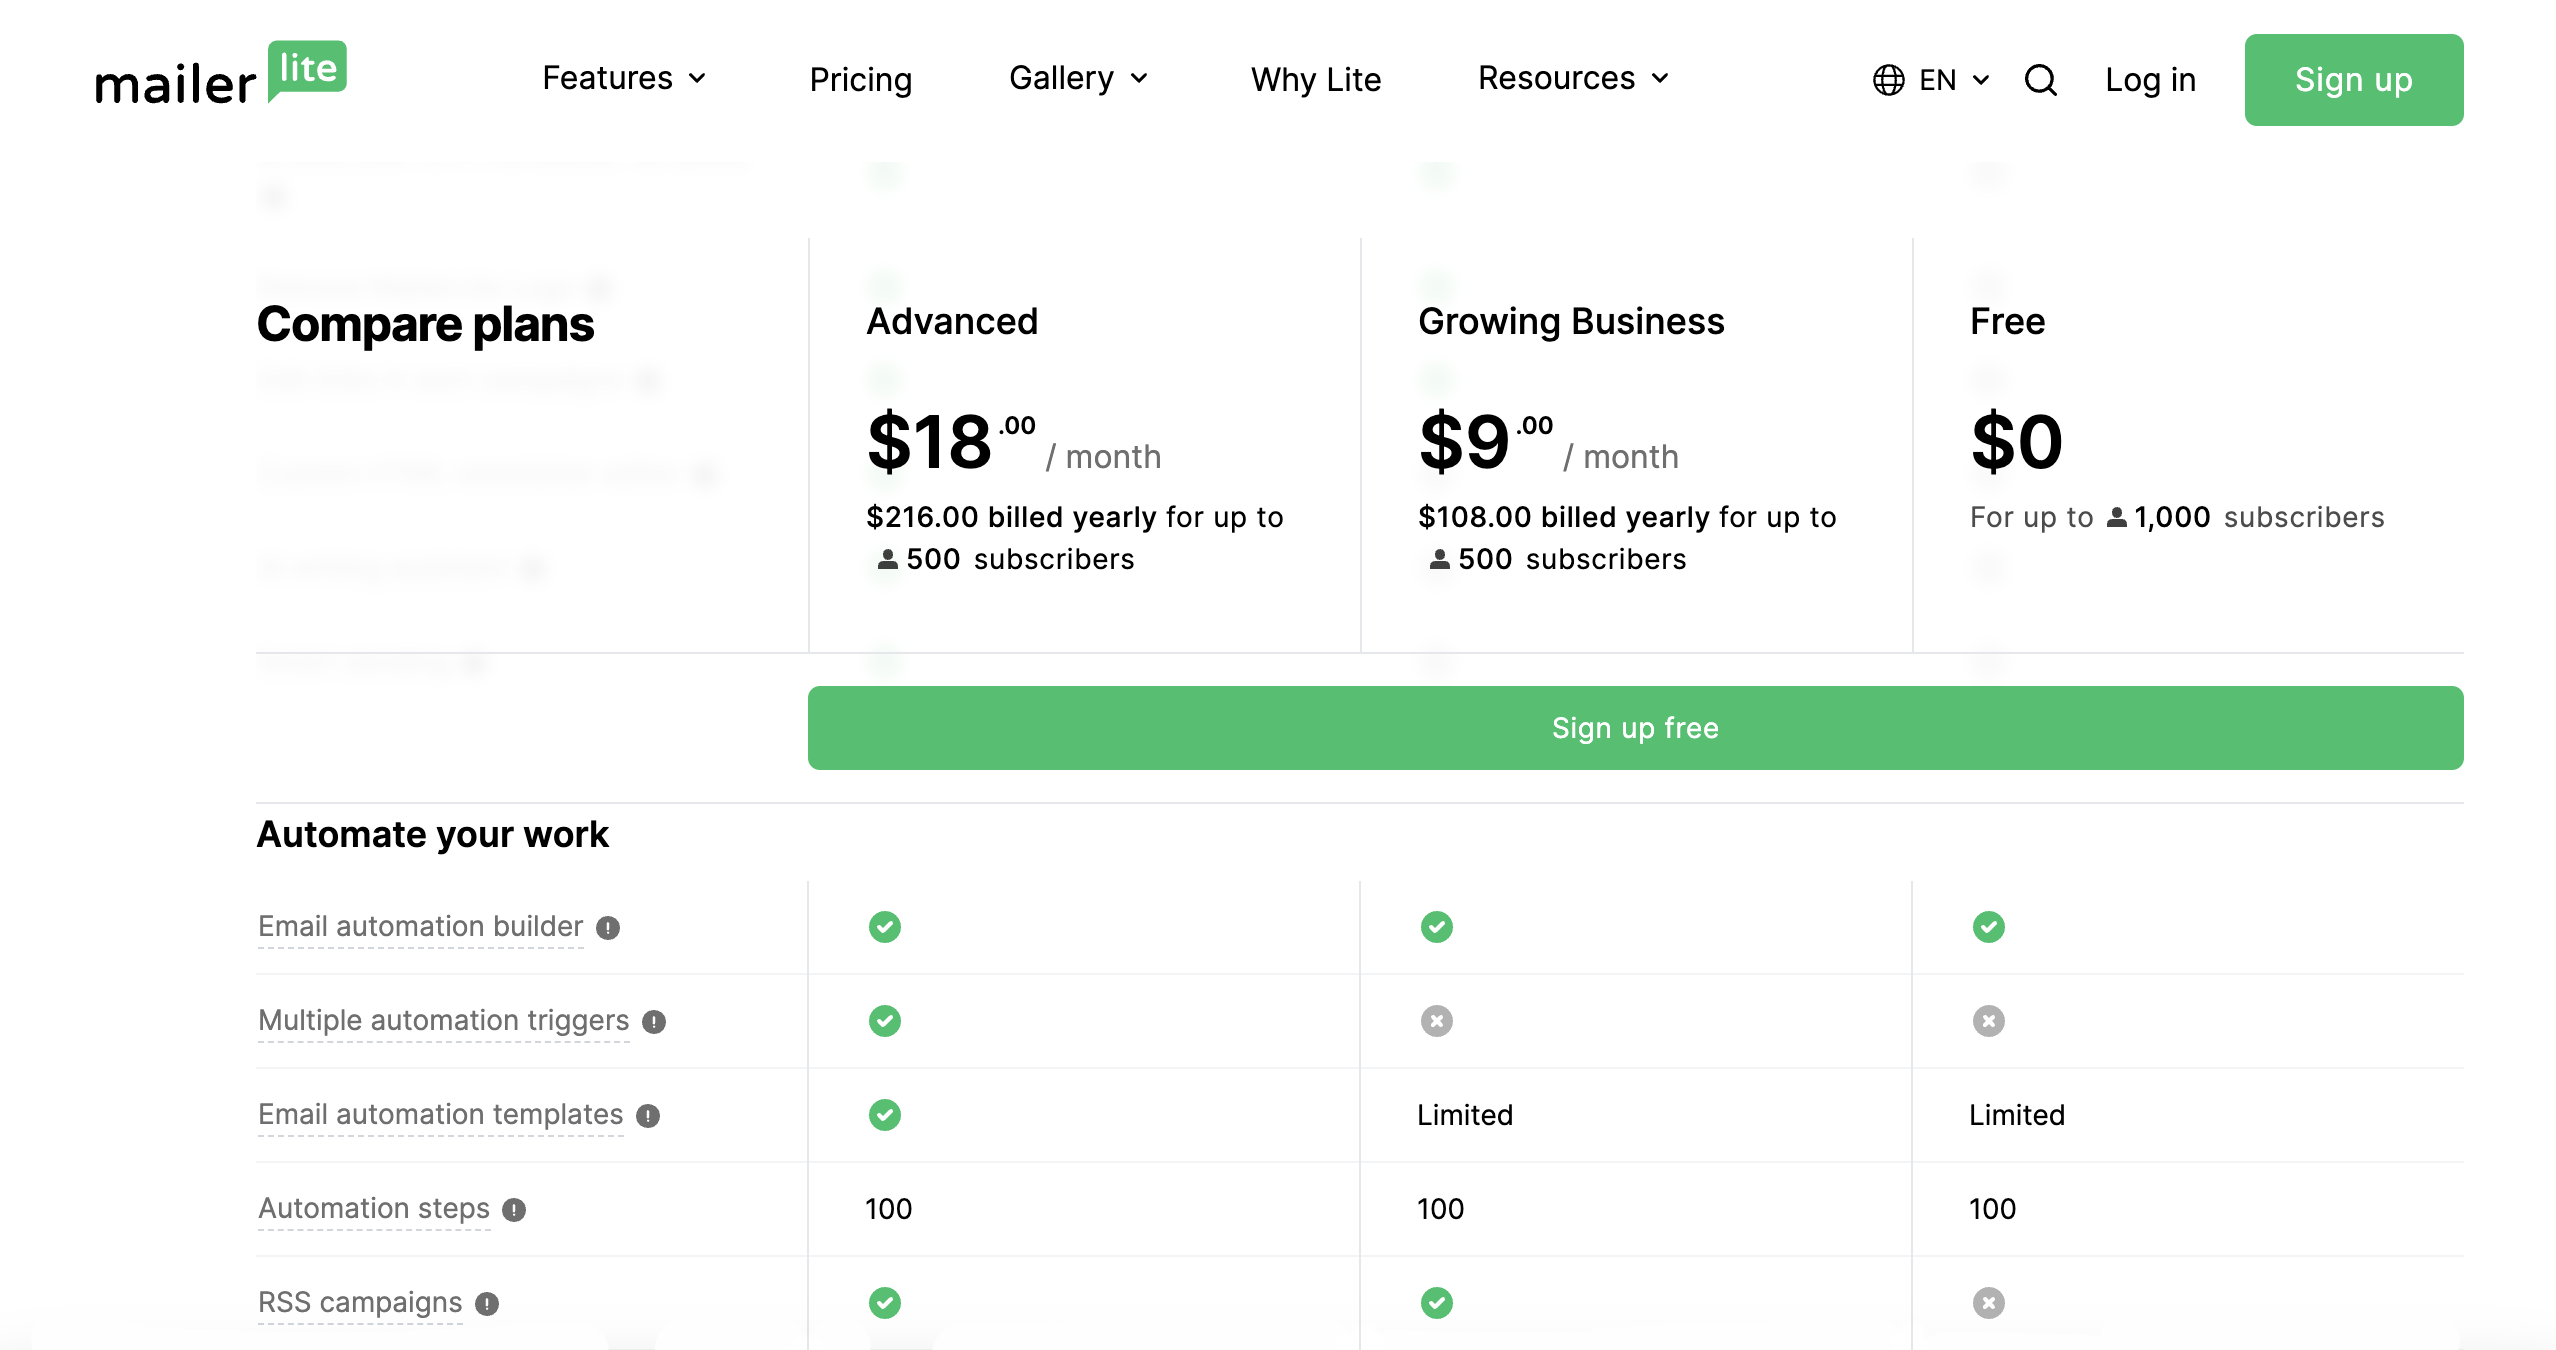
MailerLite automation is free for only up to 1,000 subscribers
Problem: It is impossible to set up an automated email response to welcome new subscribers and send them the promised lead magnet within Maichimp's free plan. To send a 1-time automated email to new subscribers, you must pay for a different plan costing $20/month.
I'd be willing to pay $5/month for that plug-in, but $40/month is just extortionate!
How to add a subscription form in WordPress: the Claspo solution
Claspo is a platform for easily creating and managing subscription widgets for websites that solves the problems of integrating CMS (like WordPress) and marketing platforms (like Mailchimp and MailerLite). In the Claspo free plan, integrations are free.
The free plan allows 3 active widgets or 30K widget views per month. If necessary, you can upgrade to the basic plan for $8 per month and have 5 active widgets on the site and 100K views.
Here’s how to add a subscription form in WordPress without going broke.
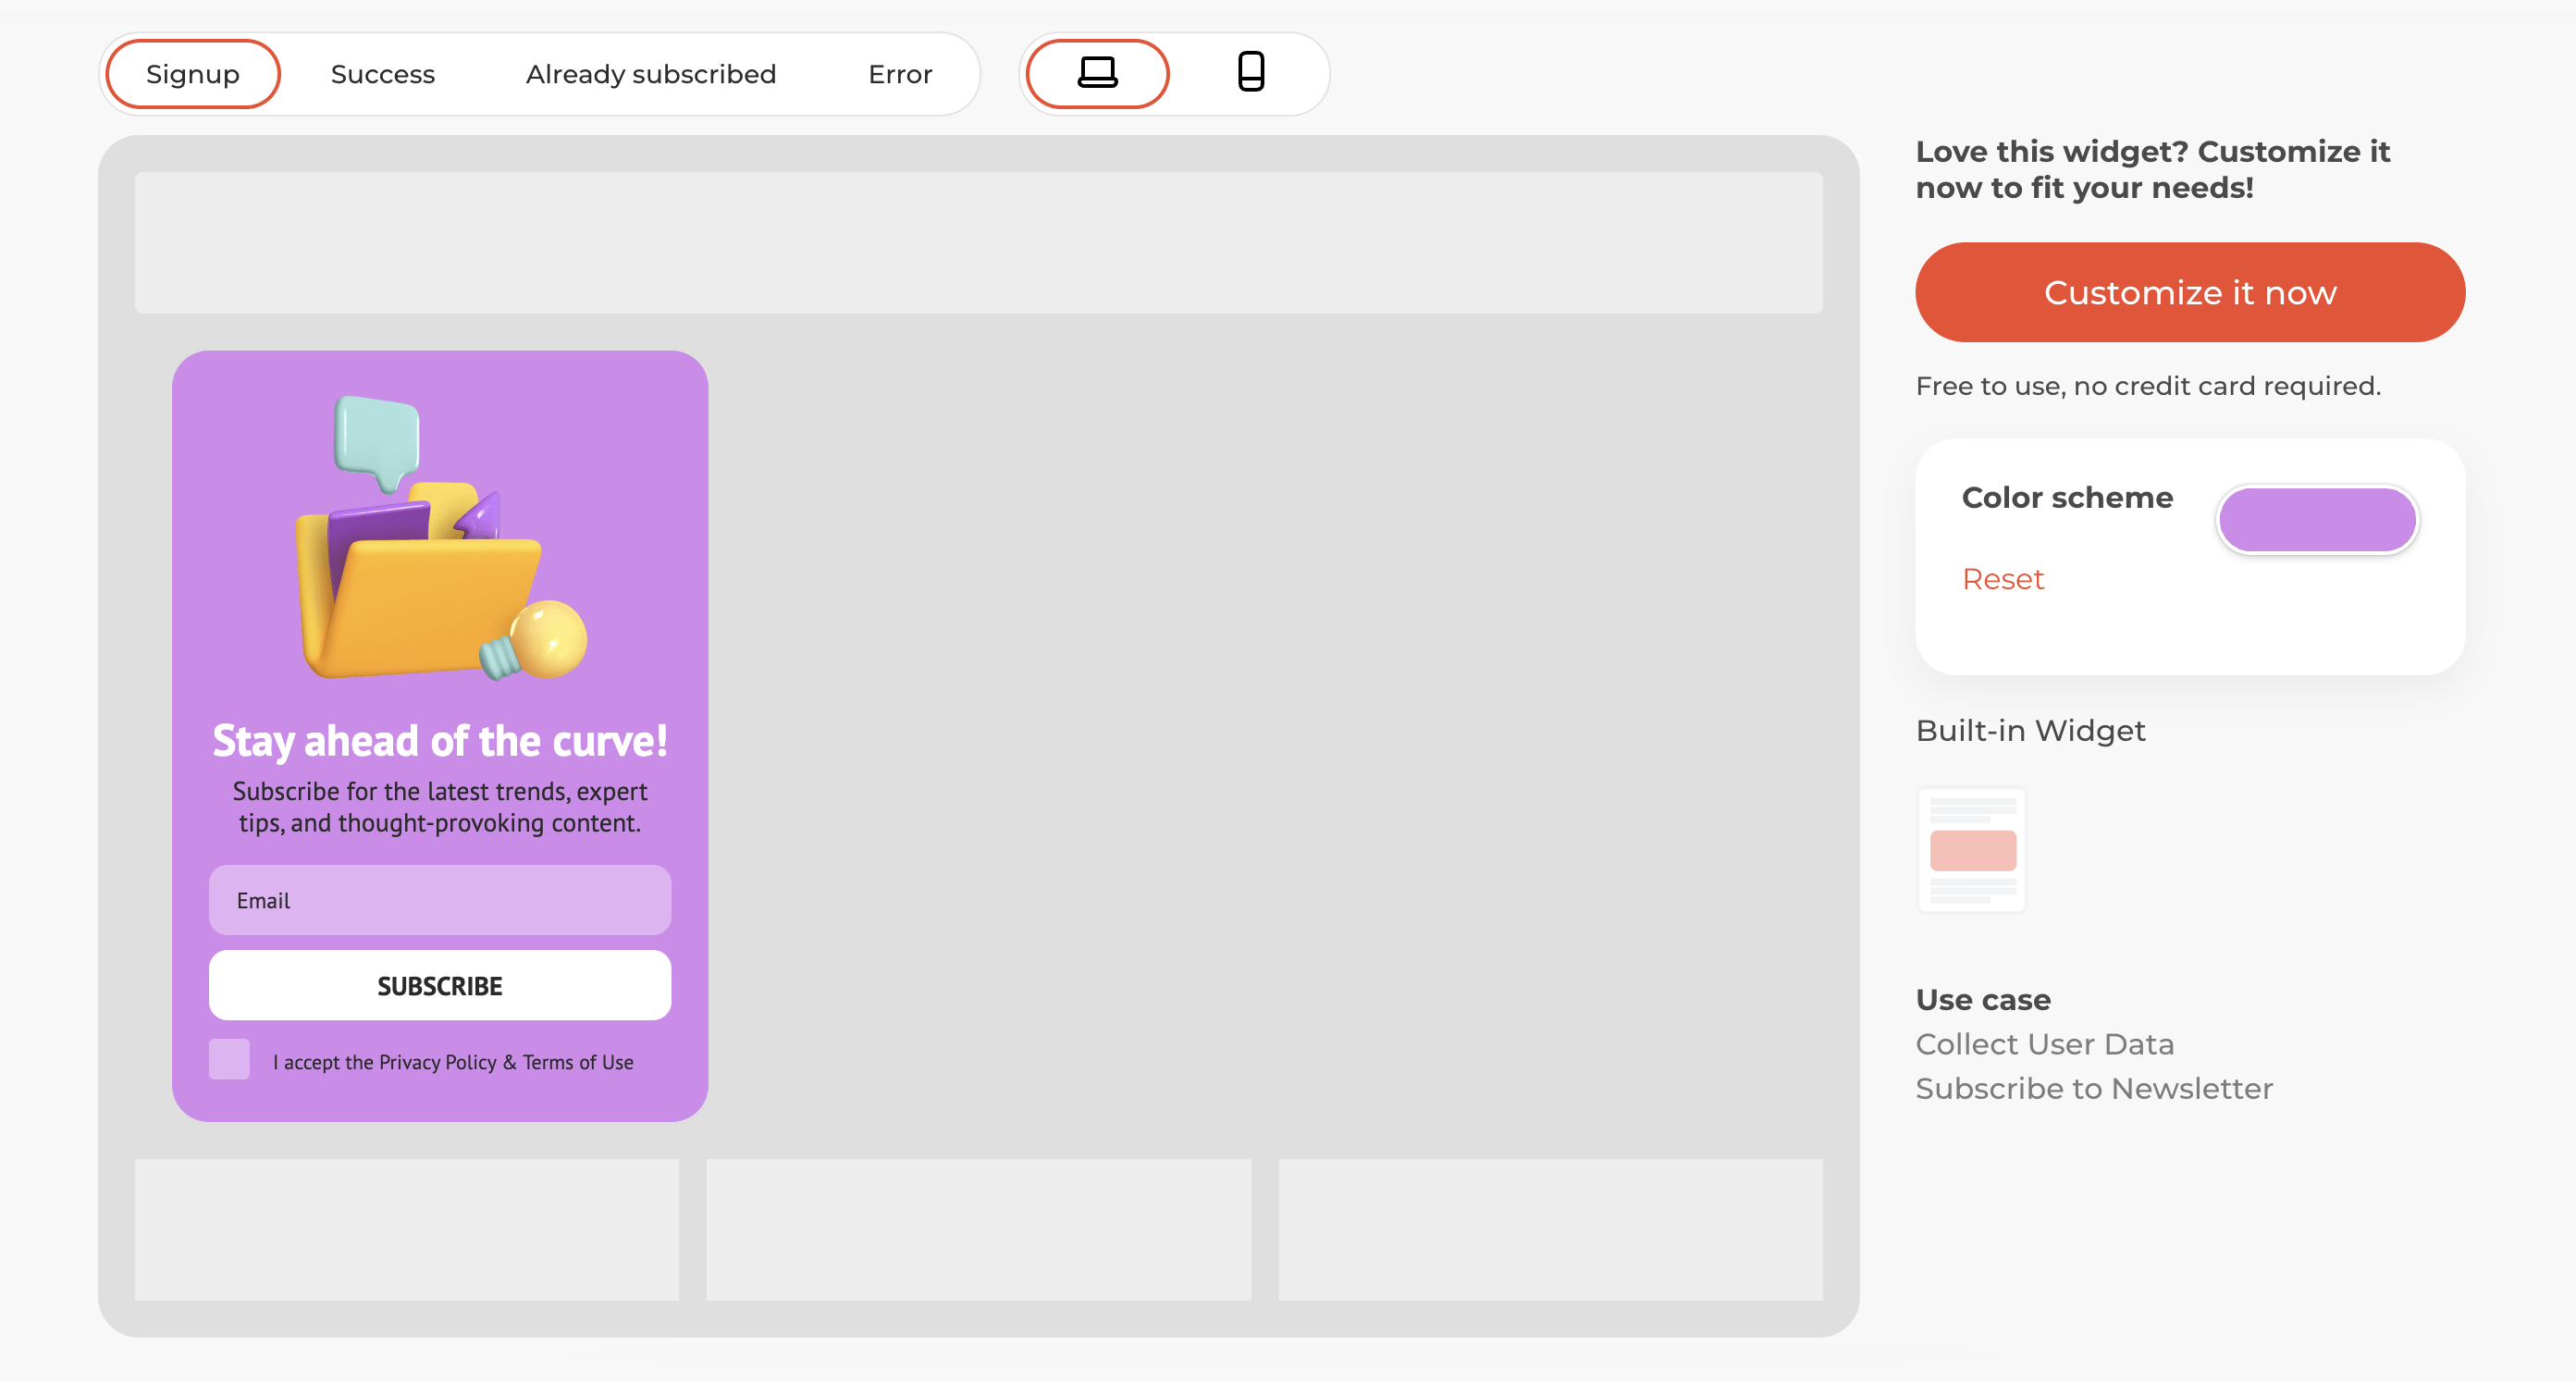
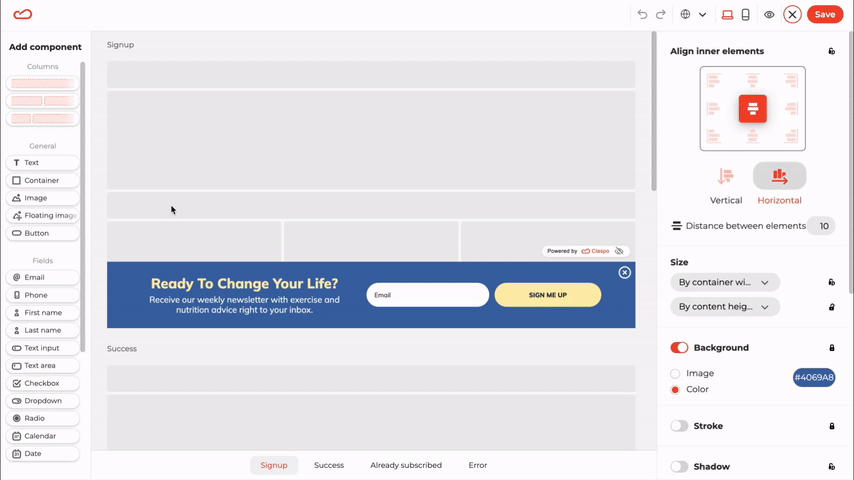
Step 1. Designing the widget
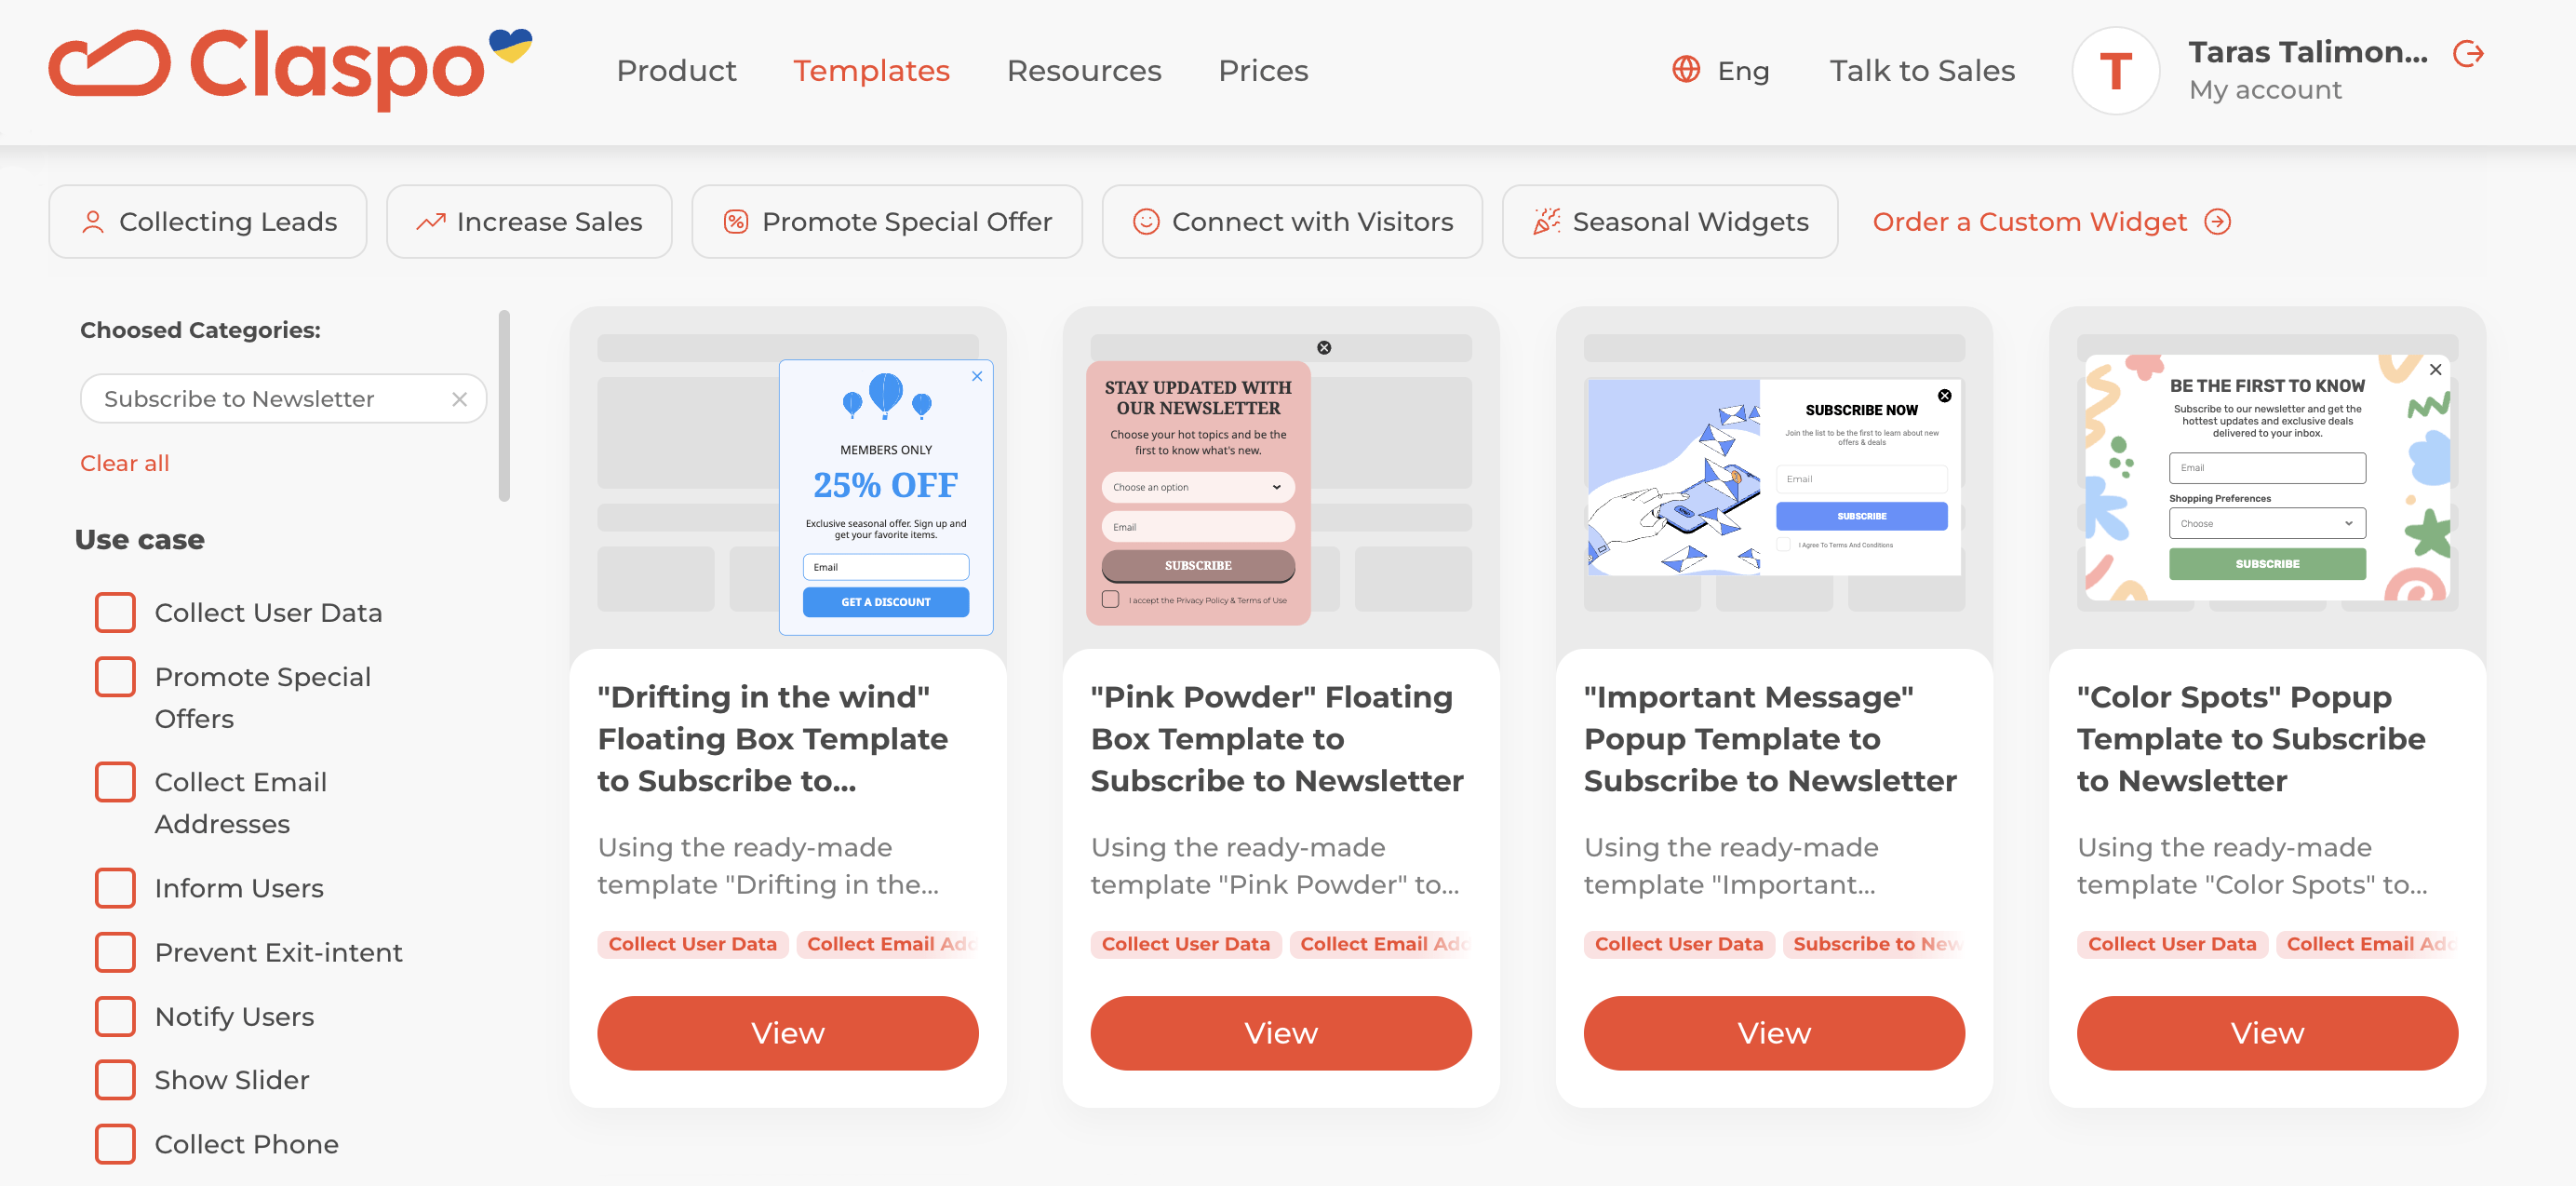
You can start with our subscription form template library. If you are interested in newsletter subscriptions, select the filter in the library. You will then be taken to a selection of different subscription widget options:
Next, select a layout. You can change it later right in the editor if you change your mind.
The floating box appears at the bottom of the screen and does not interfere with reading. It can be customized to appear after reading a percentage of the article, at the end, or after a few seconds.
A built-in widget can be placed as a fixed block anywhere on the page.
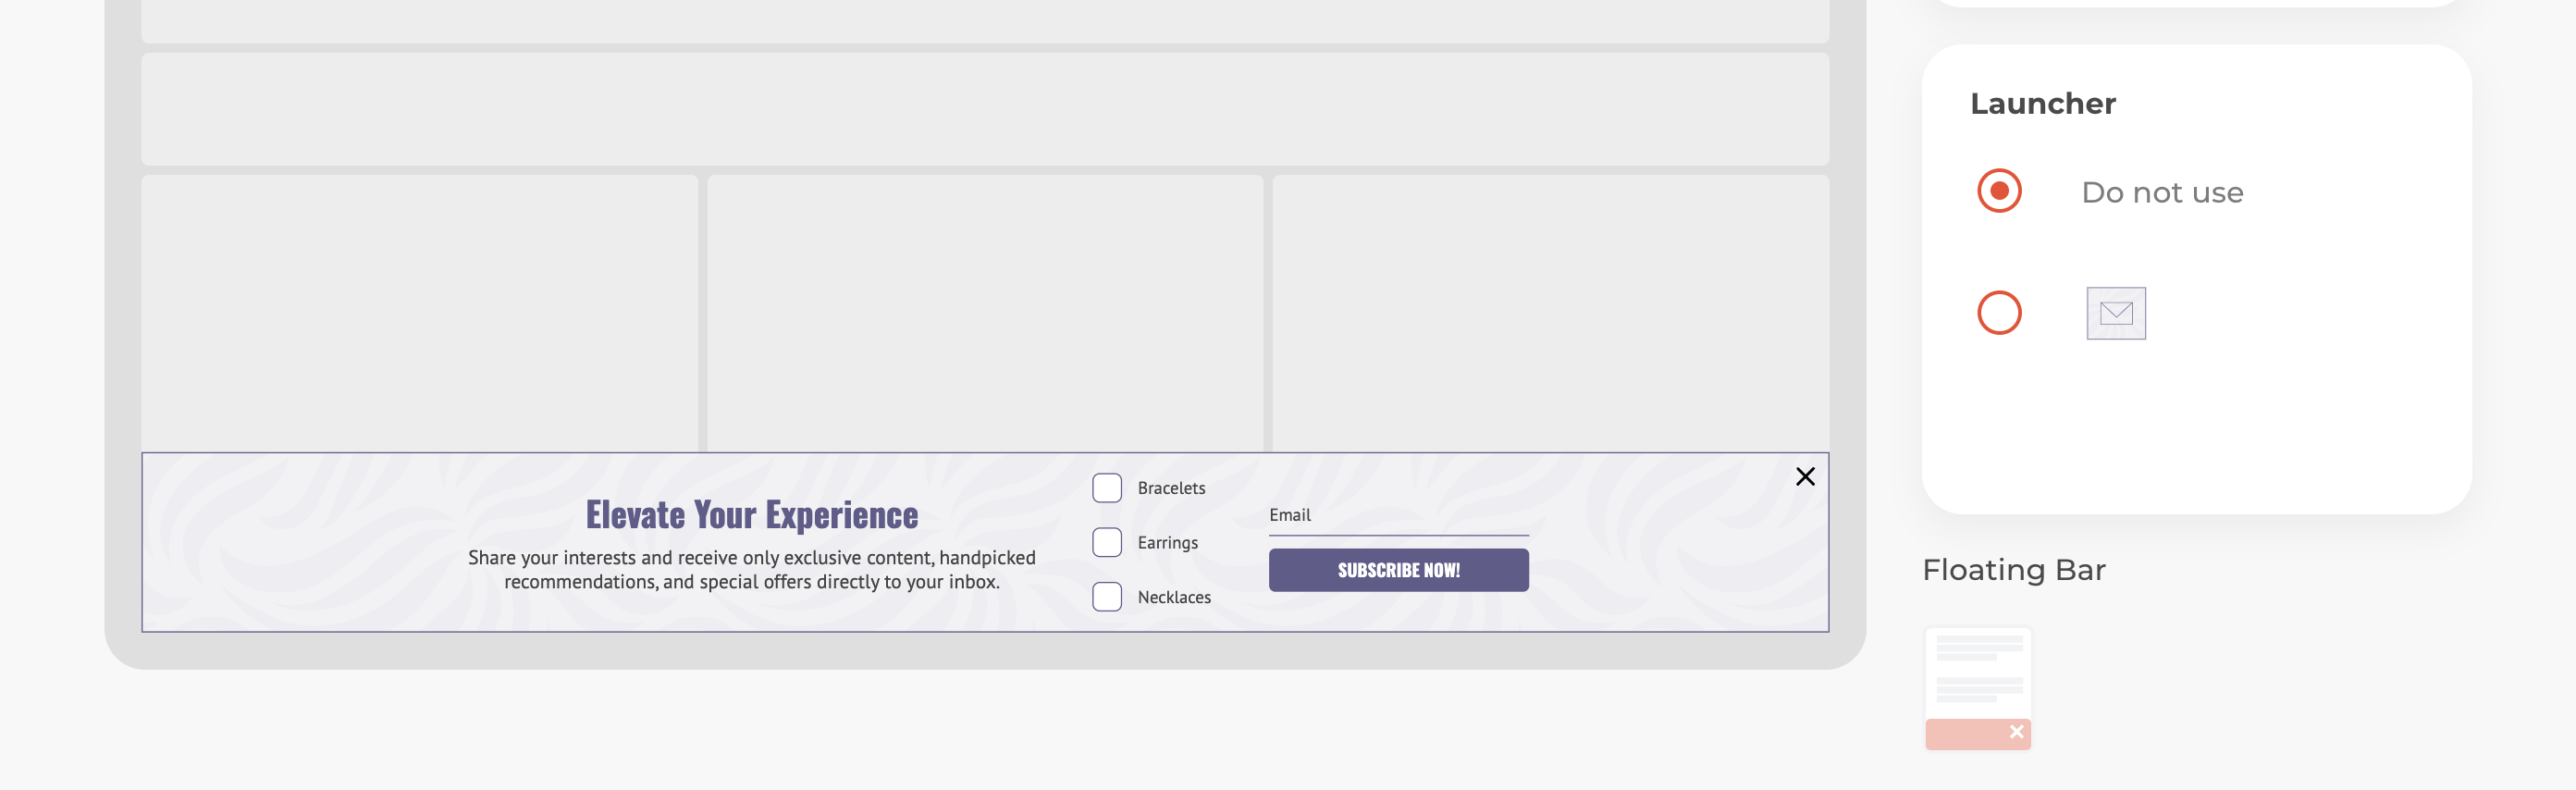
A floating bar appears at the bottom of the screen. As before, you can also set the display conditions.
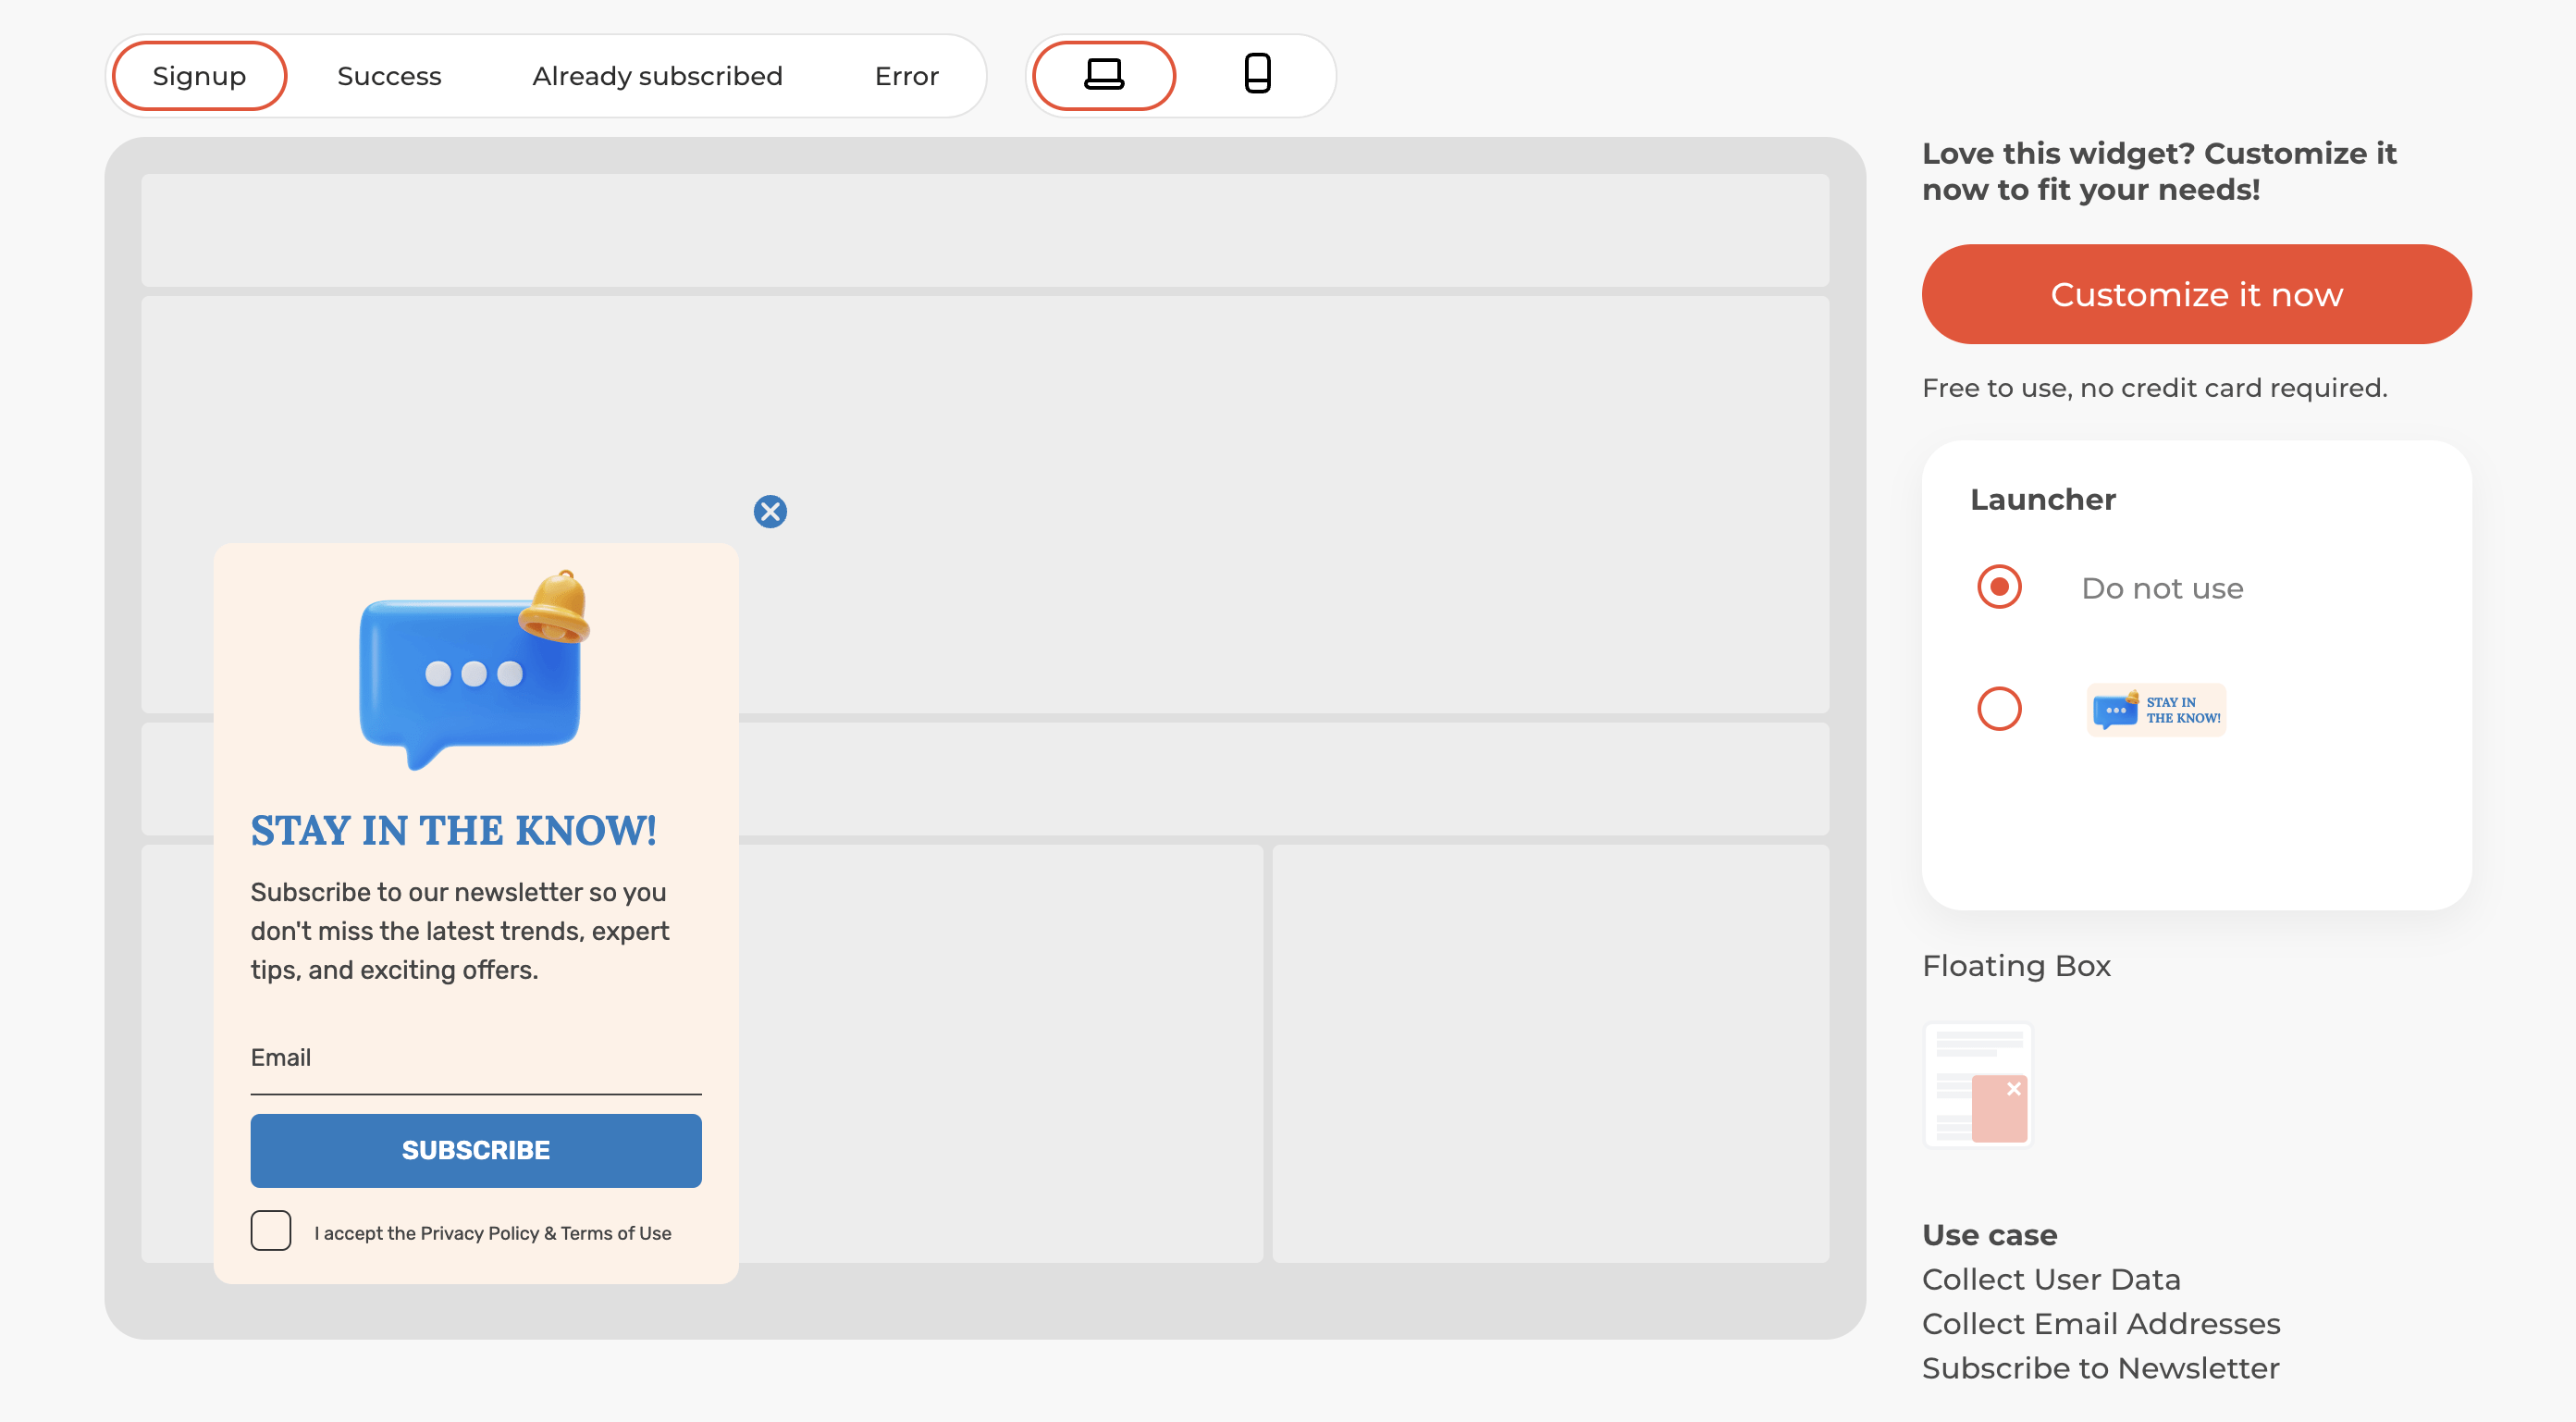
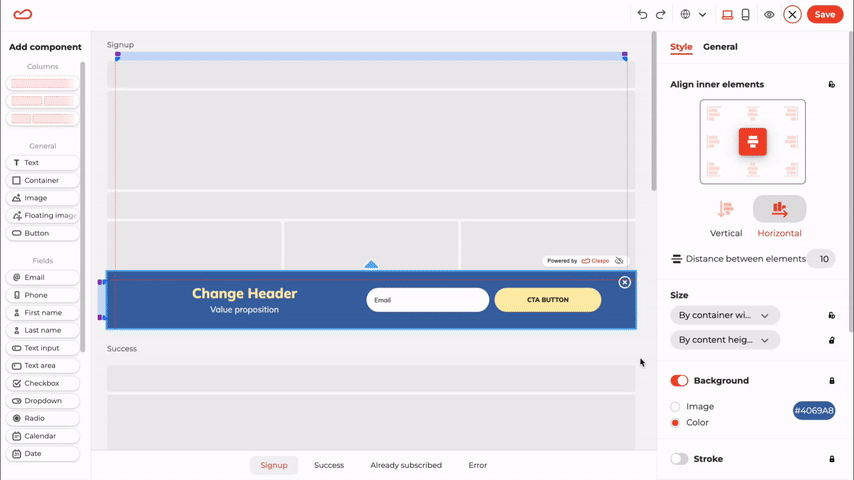
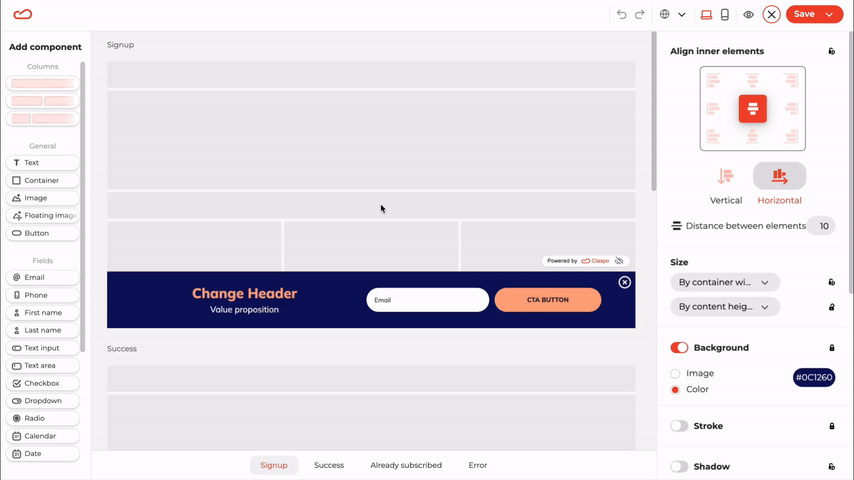
Adapt the subscription form to your needs.
You can edit the widget text in the convenient editor. All states are predefined; you just need to adapt the texts.
Adapt the widget's appearance to your website's design. A native design approach allows you to capture the same number of subscriptions without annoying visitors.
Change the colors, fonts, rounding, and even shadows as needed for a harmonious display on your page.
Claspo automatically creates a mobile version, and you can preview your creation before saving it.
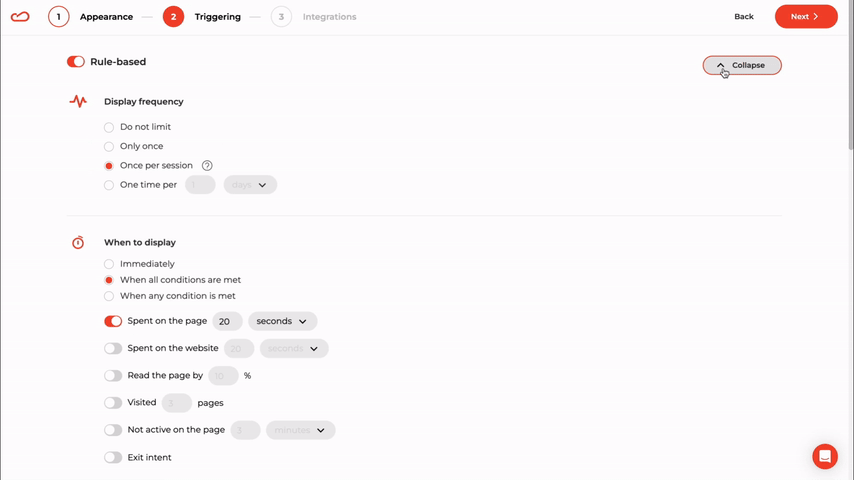
Step 2. Set display rules
Claspo has several preset rules. Based on research of over a million samples, we created rules to achieve the ideal balance between increasing conversions and minimizing distraction. However, you can make changes as you see fit. Click “Edit” to see how you can target based on user behavior.
There are also settings for orchestrating different widgets so that they do not interfere with each other.
If your website supports different languages, Claspo can detect the user’s language and show them the appropriate language version of the widget.
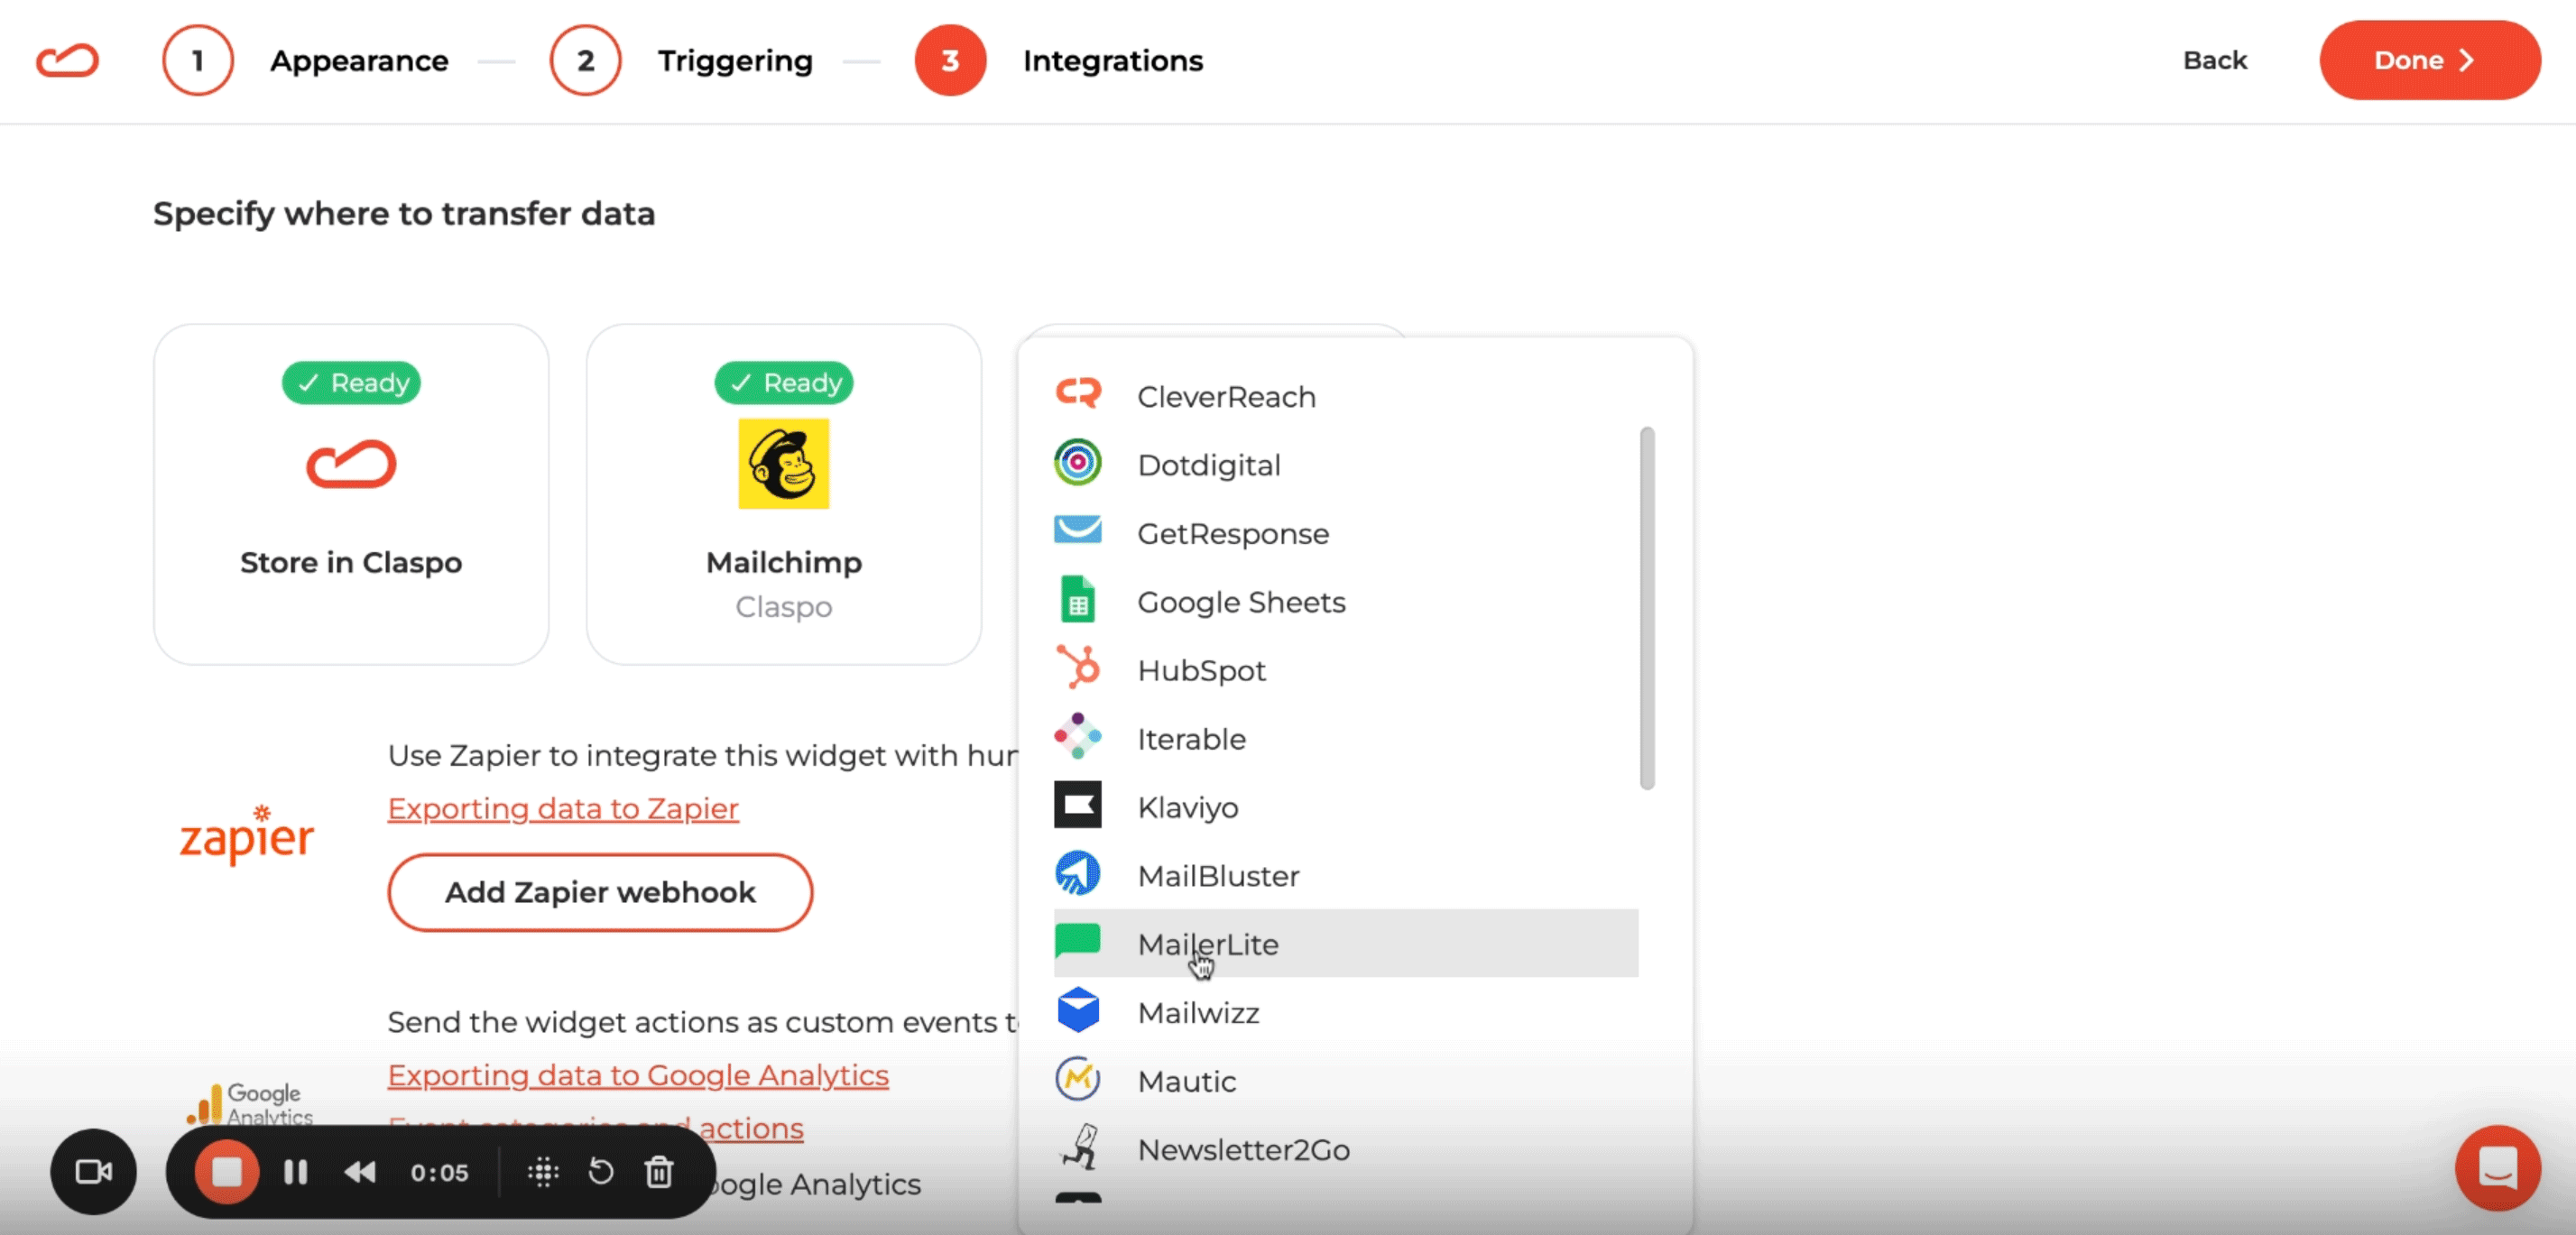
Step 3. Integrate
The next step is to connect Claspo with Mailchimp by following the instructions.
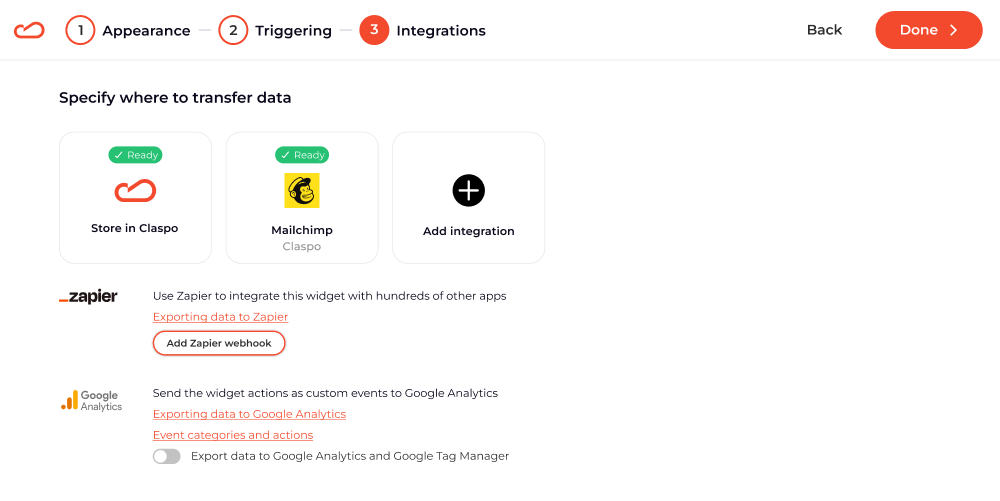
Now, your signup form will send data to Mailchimp. Other ESPs integrate similarly.
If you need automation that is not included in the free plan, you can easily switch to another automation platform, such as MailerLite.
Finally, integrate Claspo with the free WordPress. Here are some instructions:
Step 4. Profit
That’s it! You’re done. If you did everything right, the subscriptions should start rolling in soon.


