How to set it up
In just a few quick steps, you can whip up a widget with multiple slides to show off your best offers — free shipping, seasonal deals, discounts on selected items, and more.
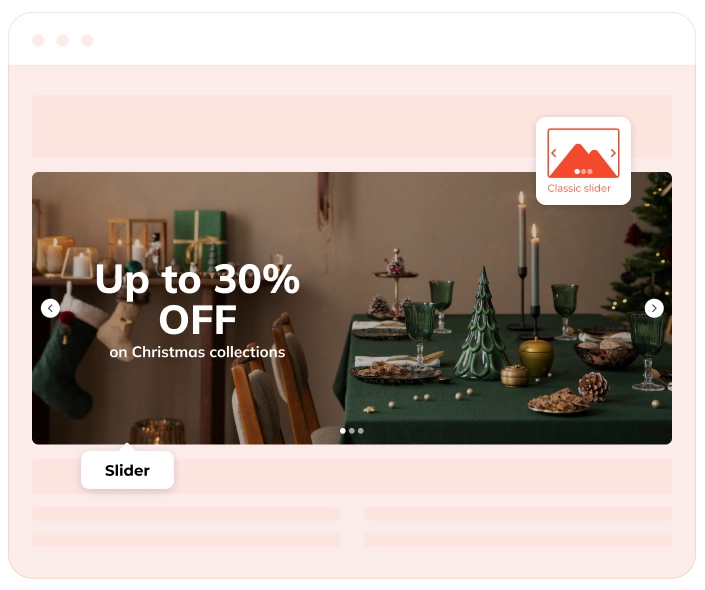
Step 1: Choose a template
First impressions count, so go for a slider template that pops and grabs attention right away. With Claspo, you’ll find options that match your style, whether sleek and modern or bold and vibrant.
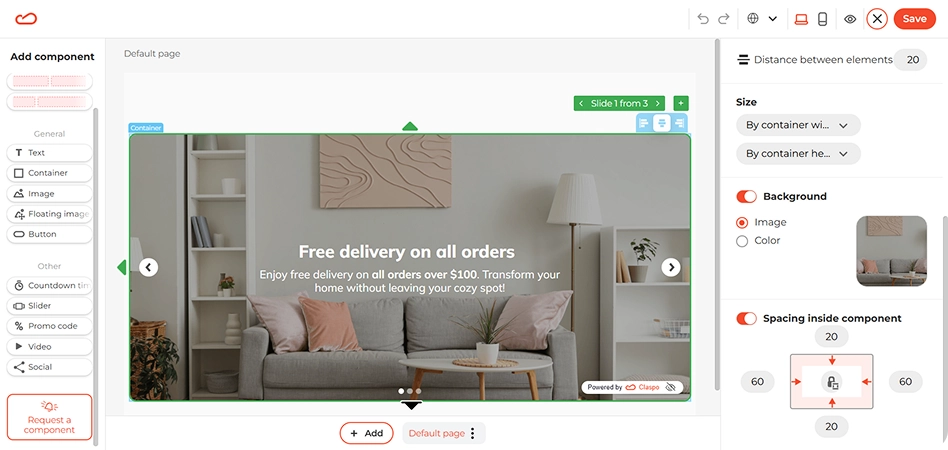
Step 2: Customize it
A good color scheme does a lot of heavy lifting — it helps your widget feel like a natural part of your brand. Tweak the colors of key elements like the background, CTA buttons, arrows, close icon, headings, and text to make everything feel just right.
Want to keep users interested? Eye-catching images or videos can make a big difference. You can upload your own in PNG, JPEG, SVG, GIF, WebP, or AVIF formats (just keep files under 3MB). Or choose from the stock library built into our editor. Also, you can add videos by simply pasting a YouTube link. The splash screen will load automatically, or you can upload one yourself.
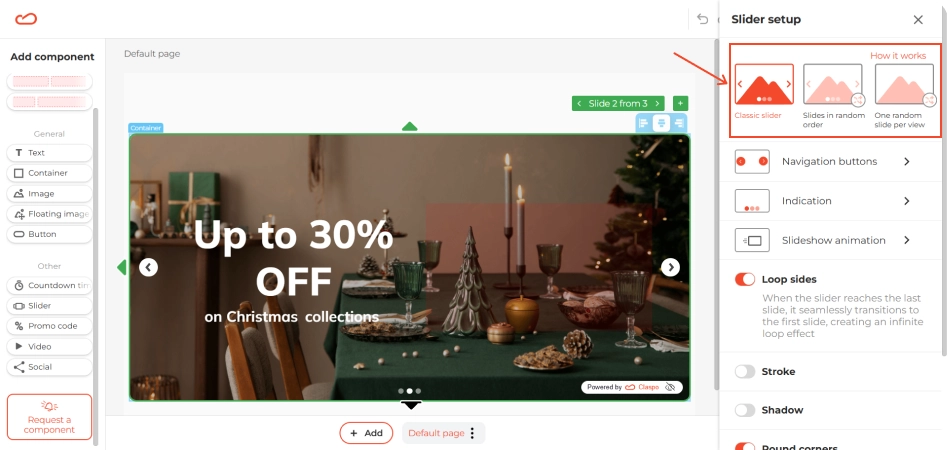
It’s all about the experience — so let’s make sure your slider works the way you want it to. You have three modes to choose from for displaying slides. Order mode: slides appear in the order they were created. Random mode: slides are displayed randomly. Single random mode: only one random slide appears per view.
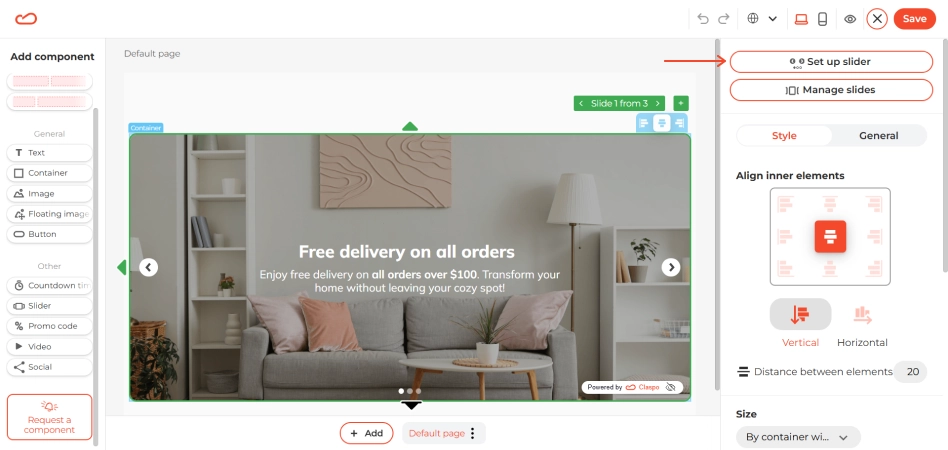
Adjust the slide transition timing to suit your audience. Want to give users more control? Disable auto-advance so they can scroll at their own pace, perfect for those who like to explore each slide. Click on Set up slider to customize the slider rules and choose the design of navigation buttons, indication or slideshow animation, etc.
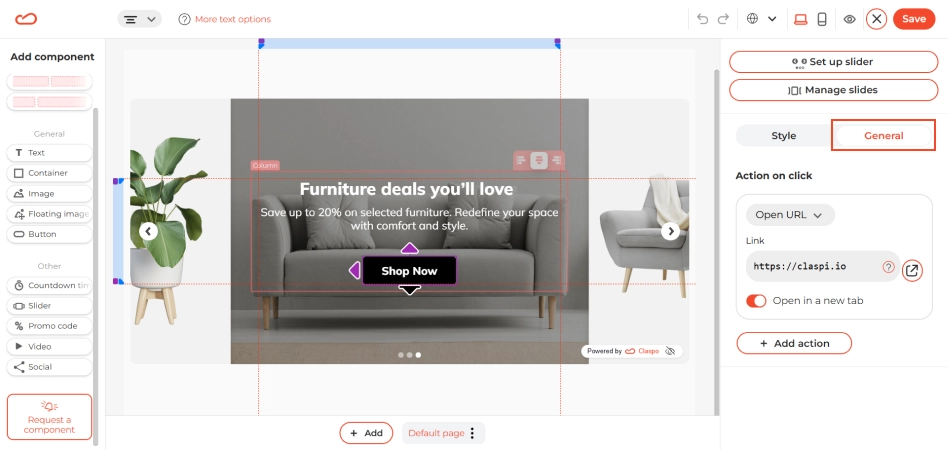
Also, in the button settings, specify the destination URL. Click the button in the template, go to the General tab, and enter the page address in the Link field.
Similarly, set up the action on click on the widget slide. Click on the desired slide, go to General > Action on click.
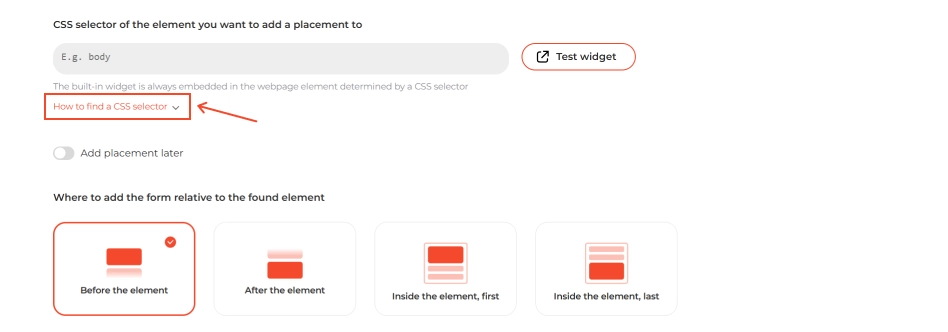
Step 3: Set up placement
The editor provides a clear, step-by-step guide on placing an embedded widget. Just expand ‘How to find a CSS selector’ to view it.
Once done, select the display option and click ‘Test widget’ to preview it on your site — only you will see it. If everything looks good, click Next, integrate with your ESP, CRM, or other marketing tool, and publish the widget.