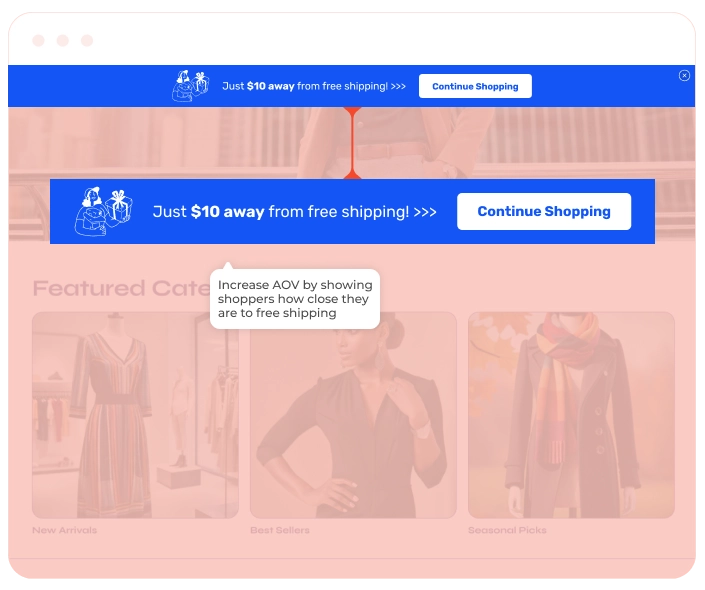
A free shipping threshold encourages customers to increase their cart value to qualify for free shipping, solving several challenges for businesses:
From our benchmarks, widgets built to push the order value a little higher tend to get steady engagement. In e-commerce, they average around 5.41% CTR, and in food and drink they sit close at 5.16% CTR. A free-shipping threshold fits right into that behavior.Showing how much is left to reach free shipping works well in that space because it gives people a clear target. When the missing amount is visible, shoppers often decide to add something small to close the gap instead of leaving the cart as-is.
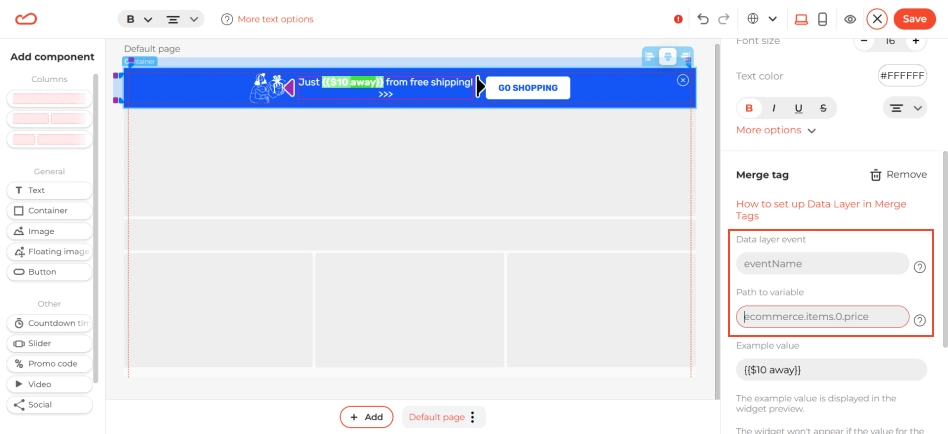
A free shipping threshold message should be clear and motivating. Key elements include: