What it solves & why businesses use it
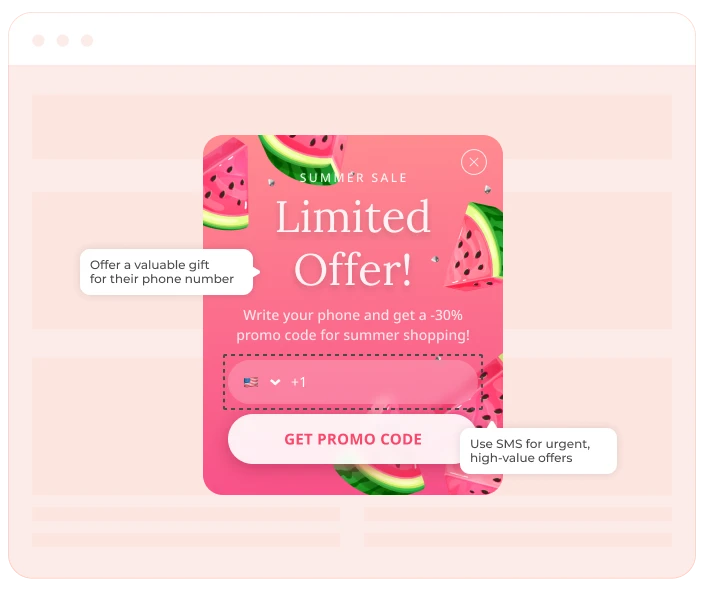
SMS stands out when emails get ignored and ad costs keep climbing. While SMS is more expensive than email, it’s also far more likely to be read. That’s why it’s best for high-value segments where every message matters. It’s fast, direct, and ideal for urgent offers like 24-hour deals. Once you have a phone number, you can also reach users via WhatsApp or other messengers — cheaper than SMS, but just as immediate. The easiest way to collect customer phone numbers is by adding a widget to your website.
Our performance benchmarks show that phone-only fields convert at a modest 0.44% CR, largely because visitors hesitate to share a highly personal channel without a clear payoff. However, when a phone number is collected alongside an email and paired with a promo code, average conversion climbs to 2.10% — almost a 5× improvement.
When & how to use it
Phone number collection works best when speed matters and for businesses in:
- Retail & e-commerce — for time-limited promotions, new products pre-orders or back-in-stock alerts.
- Local businesses & services — for appointment reminders, local updates, or exclusive offers.
- Events & entertainment — for reminders, last-minute changes, or early access perks.
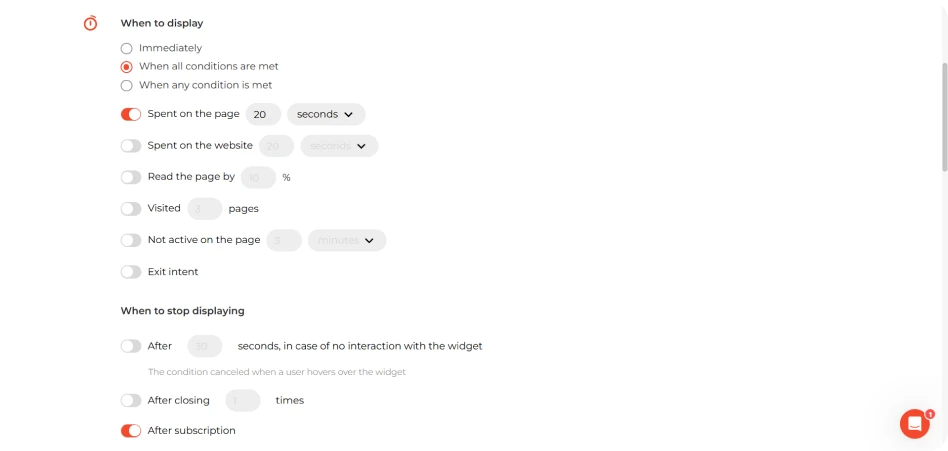
You can collect phone numbers on their own — say, by offering a discount code via SMS — or together with an email. Use a single form with both fields, or go with a multi-step widget: email first, then phone number for a bigger reward. Trigger it when:
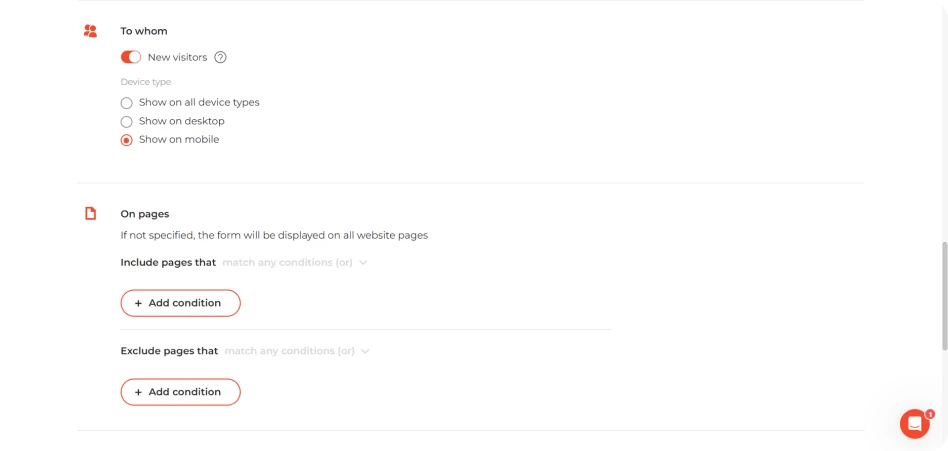
- A mobile visitor lands from a paid ad (capitalize on intent while it’s hot).
- A visitor browses high-intent pages (like product or pricing pages) for 20 seconds.
- A user starts exiting from the checkout or cart (offer to ‘text the deal’).
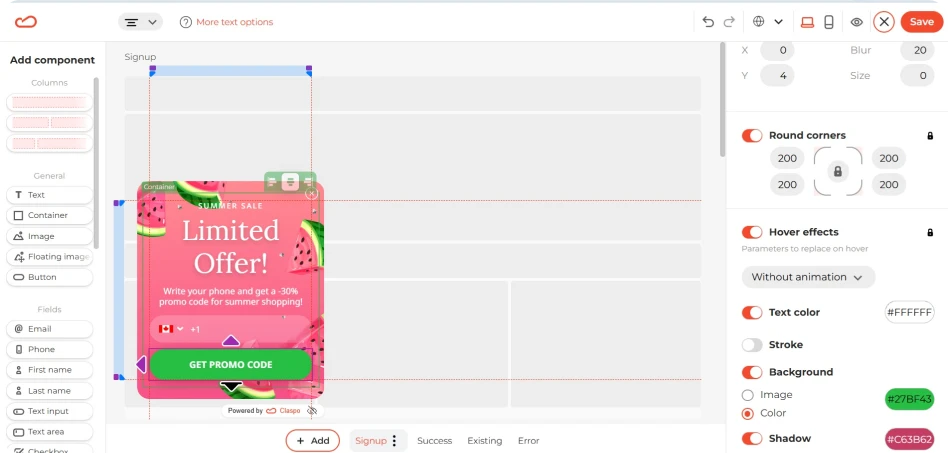
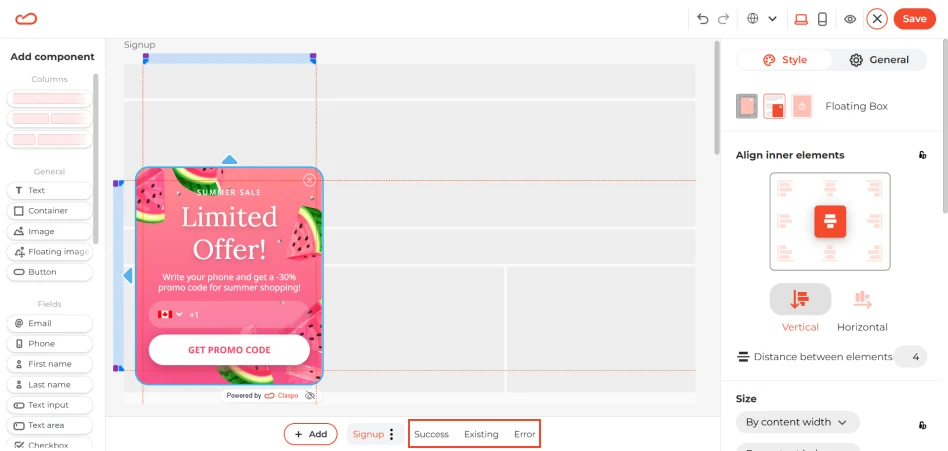
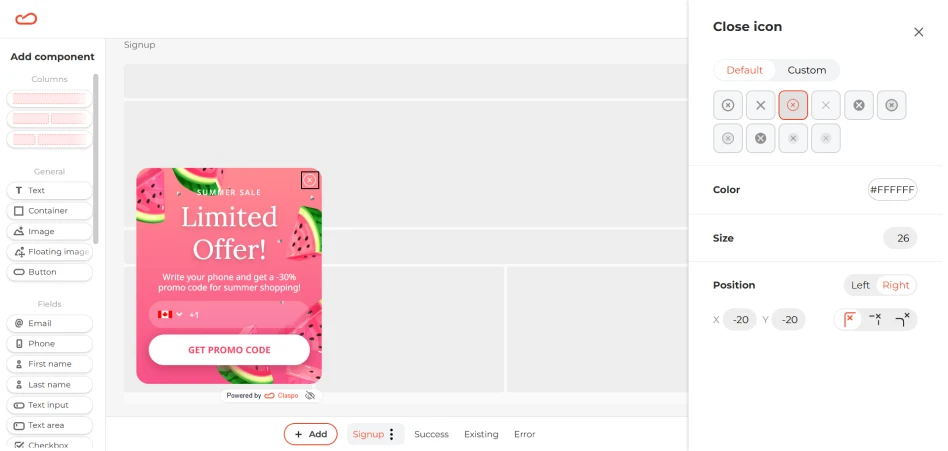
How it looks
Keep it sleek, simple, and mobile-friendly:
- Just one input field for the phone number.
- Strong headline with a clear benefit.
- One bold CTA button.
- Countdown timer for FOMO (optional).
Important: in many countries (including the US, UK, EU), you must include a Consent notice beneath the form, if collecting phone numbers for marketing. What to add:
- A short legal line explaining the user agrees to receive texts.
- Links to your Privacy Policy and Terms.
- If required by law (like the US TCPA), mention that ‘consent is not a condition of purchase’.
Place this notice right under the CTA button — always visible before submission. No hiding it in footnotes.
Pairs well with
Collection phone number widgets work even better when combined with other strategies. You can tie them to lead magnets by offering a discount or freebie delivered via SMS. They also complement email collection forms — giving users the option to choose how they want to stay in touch. Add a bit of fun with gamified widgets like Spin the wheel or Scratch card, where the prize is revealed only after entering a phone number.