How to set it up
Step 1: Create and customize
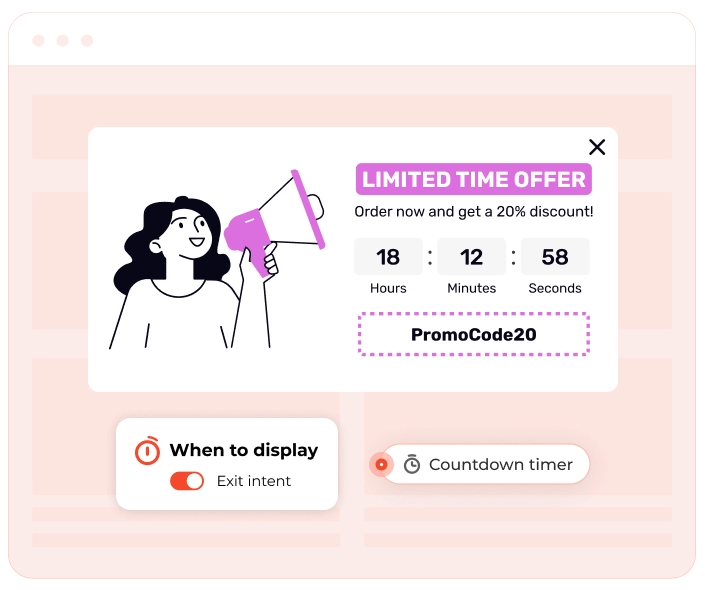
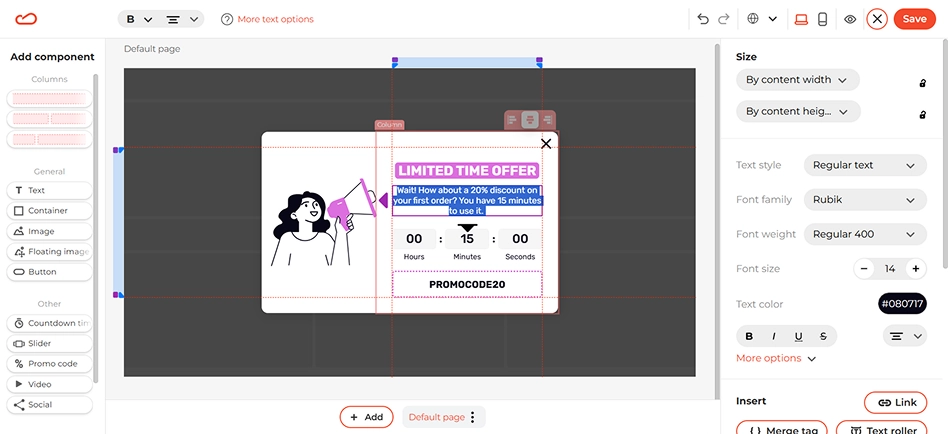
Log in to Claspo and create a widget. Select the option to create from template, as it’s the easiest way to get started. Plus, there are plenty of great pre-made designs ready to use. Change the visuals, fonts, and colors to match your branding. Update the content by double-clicking on the text component. Make your offer and deadlines (if any) clear.
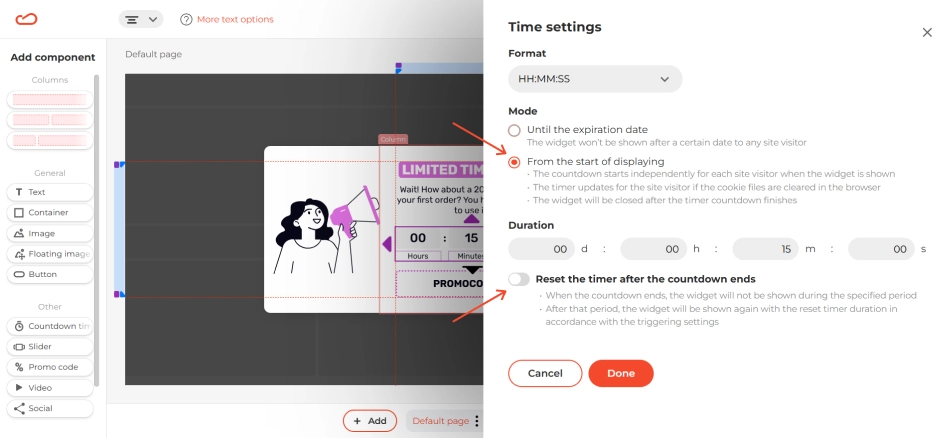
Click on the timer to start configuring it. In the right panel, click Setup Time, and a sidebar with timer options will appear. Set the desired time, select From the start of displaying mode, and disable the Reset option if you don’t want the timer to restart after it ends. The From the start of displaying mode option ensures that each user sees their own countdown from the beginning.
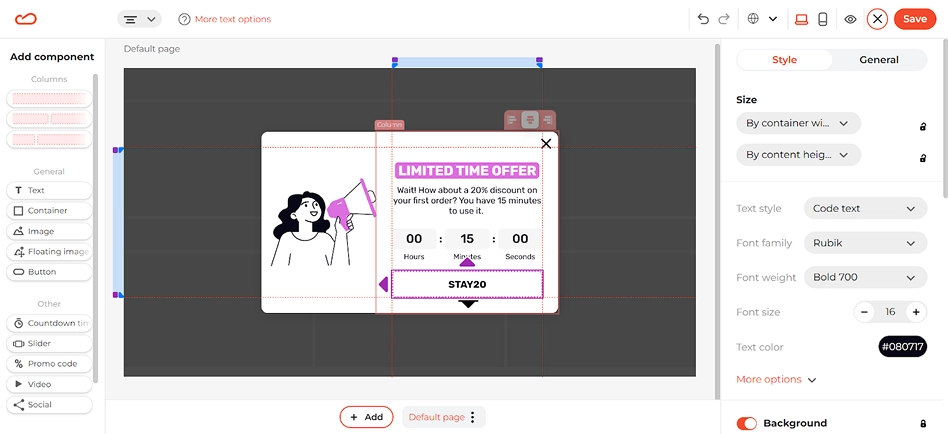
Next, replace the promo code with your own. Simply double-click on the text and enter your custom code. It will automatically copy to the user's clipboard when they click on it.
If your website has an international audience, you can set the widget's primary language and add additional languages your users speak. However, keep in mind that the promo code remains the same for everyone.
Сheck the Preview mode to see how the widget looks on desktop and mobile. Mobile view is critical — exit popups often display poorly on smaller screens if not tested properly.
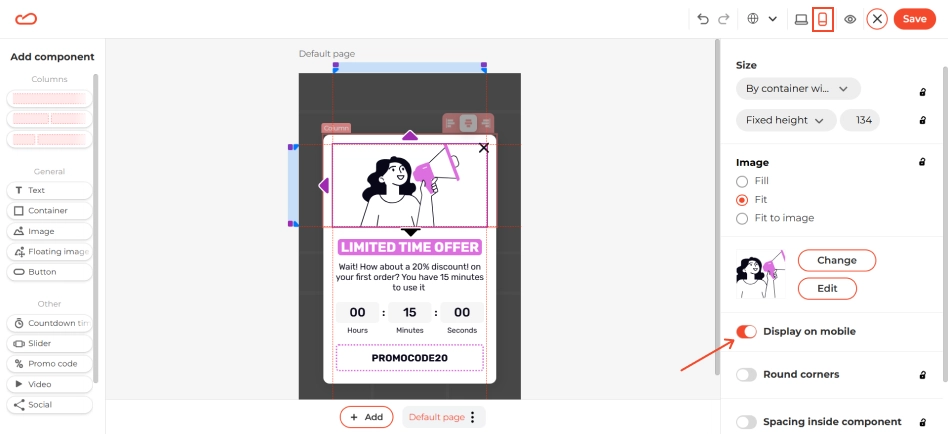
If the widget is too large, you can turn off the image display on mobile in the settings. Switch to mobile view and click on the image and switch off the Display on mobile option.
Step 2: Set up triggers
Define where the widget should appear. Should it be a cart abandonment discount, free shipping, sample, etc? To choose the right pages, check your analytics (Google Analytics or similar) and identify pages with high bounce or exit rates. Focus on high-intent pages where users are close to conversion but often leave without completing a purchase.
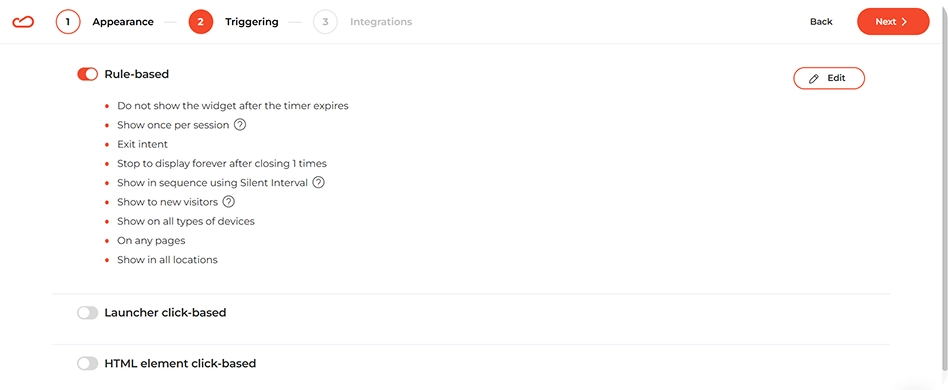
Click on the Edit button, and the full list of existing rules will open before you. Configure the widget as needed. In the When to display section, select Exit Intent. We recommend showing the widget only once to new visitors. Scroll down to the On Pages section, where you can add the pages on which the widget should appear.
Step 3: Save and publish
Integrate the widget with your Google Analytics to track performance, save the widget, add the Claspo script to your website, and you’re ready to go.
Your exit intent countdown is now live, working to recover potentially lost buyers and drive more sales.