What it solves & why businesses use it
First-time visitors often hesitate because they don’t know if they can trust your brand. A testimonials carousel widget bridges that gap with authentic social proof and encourages prospective buyers to make informed purchasing decisions, solving several challenges at once:
- Lower the perceived risk for customers considering a purchase.
- Reduces a decision barrier by showing positive experiences that your product or service delivers on its promises.
- Adds authenticity and credibility to your brand without relying on hard-sell tactics.
- Reinforces brand perception and builds trust earlier in the user journey.
- Encourages new visitors to convert and returning visitors to buy again.
A testimonials widget is especially effective for businesses with longer buying cycles or higher price points, where trust plays a bigger role in the decision-making process.
When & how to use it
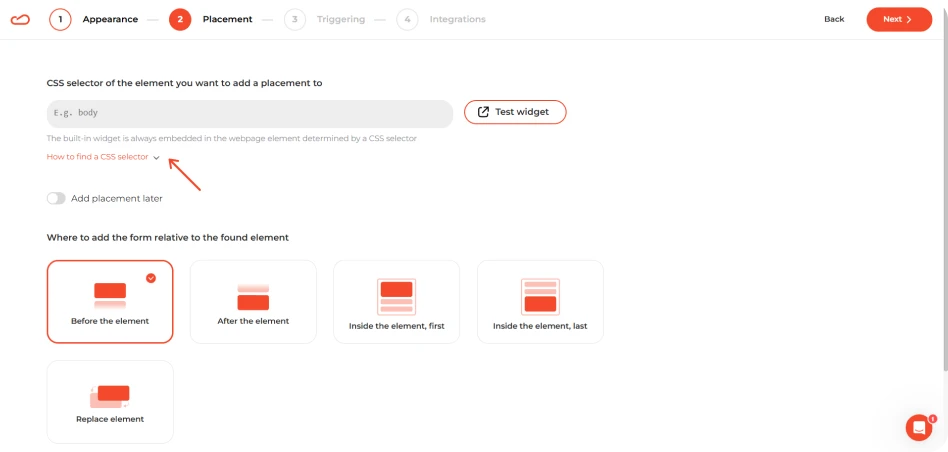
Use the testimonials carousel for both new and returning visitors who are comparing options, evaluating your offer, or browsing high-intent pages. Best placement:
- Home page — builds trust early for new visitors and supports brand credibility when the homepage is part of the conversion journey.
- Product pages — reinforces trust when visitors are actively evaluating what to buy.
- Pricing pages — helps justify the price by showing others found value in it..
- Landing pages from paid ads or campaigns — builds credibility for cold traffic.
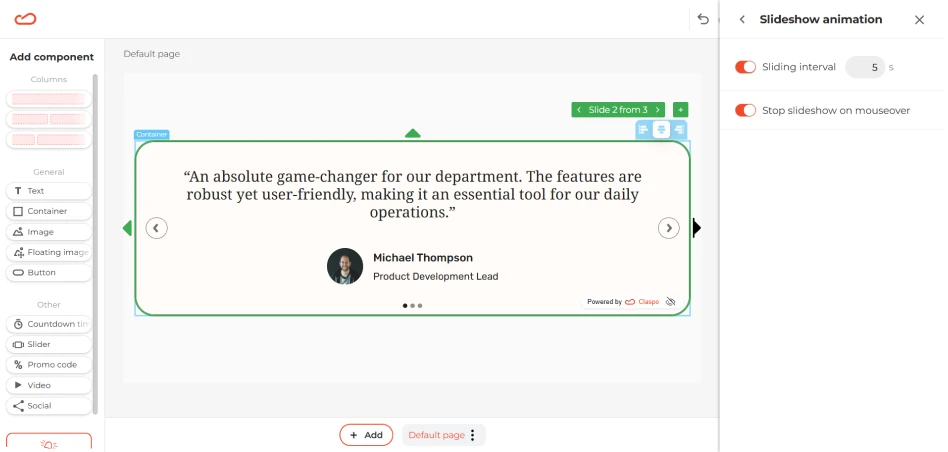
Avoid placing it on blog pages or general content where buying intent is low. To get the most out of your testimonials slider, timing matters. Here are a few smart ways to trigger it when visitors are already engaged and more open to trust-building content:
- Scroll depth (30–50%) — they’ve already shown interest.
- Time delay (15–25 seconds) — gives them a moment to orient.
- Number of pages viewed — if someone browses 2-3 pages, they’re likely comparing options. That’s a perfect time to reinforce trust.
- Inactivity — if a visitor stops moving for a few minutes, a testimonials widget can gently re-engage them without being pushy.
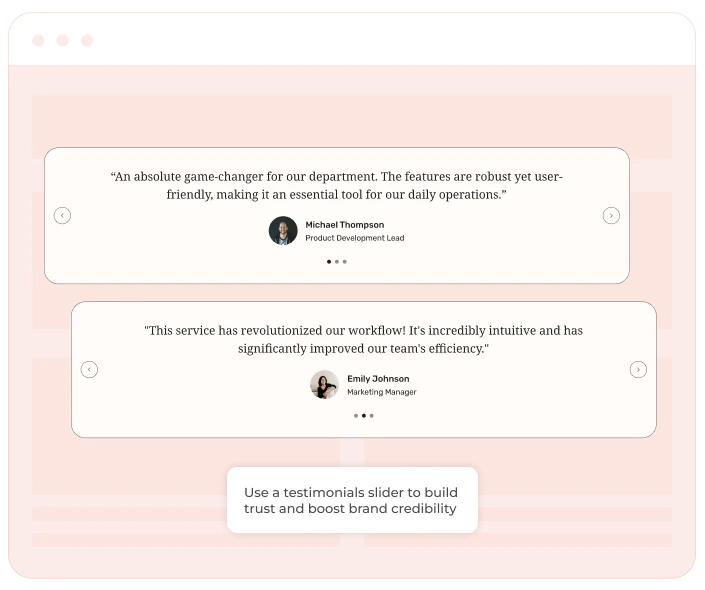
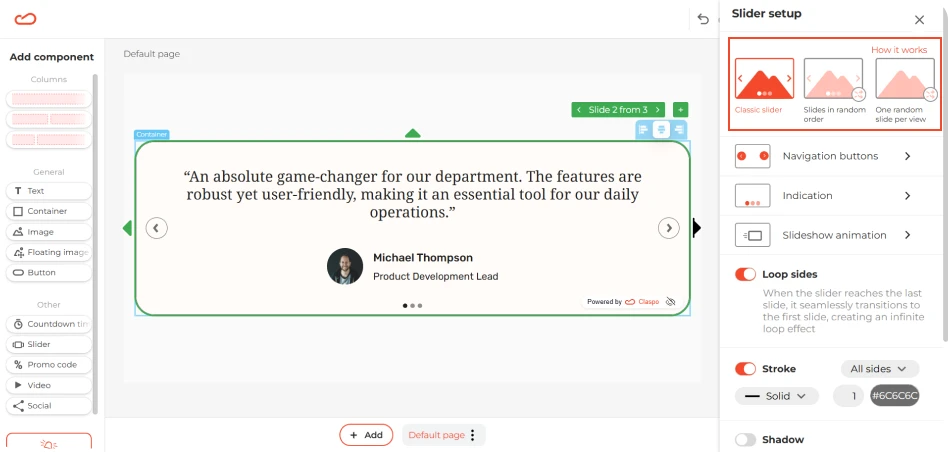
How it looks
Testimonials sliders are designed to be clean, focused, and easy to scan. The layout is typically built-in and pre-optimized to highlight the most persuasive elements without overwhelming the visitor. An effective testimonials widget with a slider includes:
- A short quote or feedback snippet.
- Customer name and photo (if possible) for authenticity.
- Optional: a product image, star rating, location.
- The slider moves smoothly — either with auto-transition or manual navigation, so users can absorb social proof at their own pace without distraction.
Pairs well with
Testimonials carousel work even better when combined with other high-converting use cases. Pair them with a first purchase discount to build trust and offer an incentive at the same time.