Beyond increasing conversions and driving urgency, sales notifications can help businesses in the following ways:
We’ve noticed that real-time social proof can give visitors a small but meaningful push toward checkout. On average, user-count style notifications pick up about 2.97% CTR, but when they’re timed well and feel relevant, the top 1% see around 5.67%. Seeing activity from other customers adds a bit of energy to the page, almost like walking into a store where something’s happening. That feeling can nudge someone to take the next step instead of just backing out.
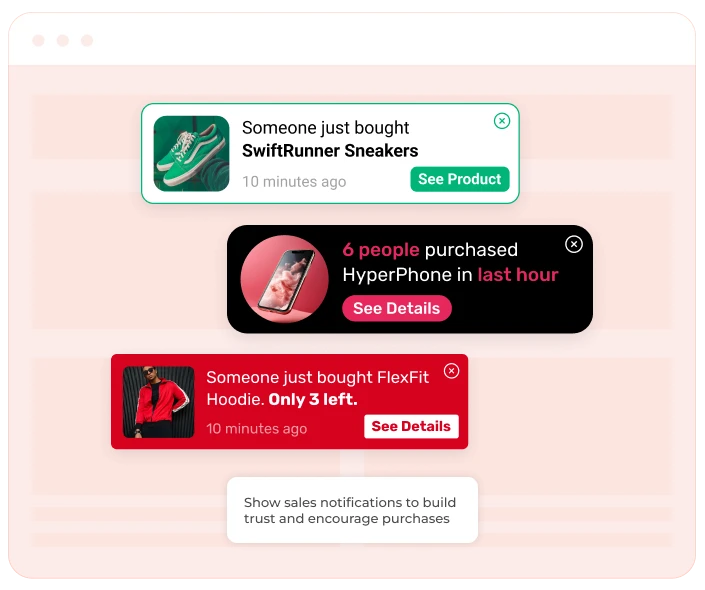
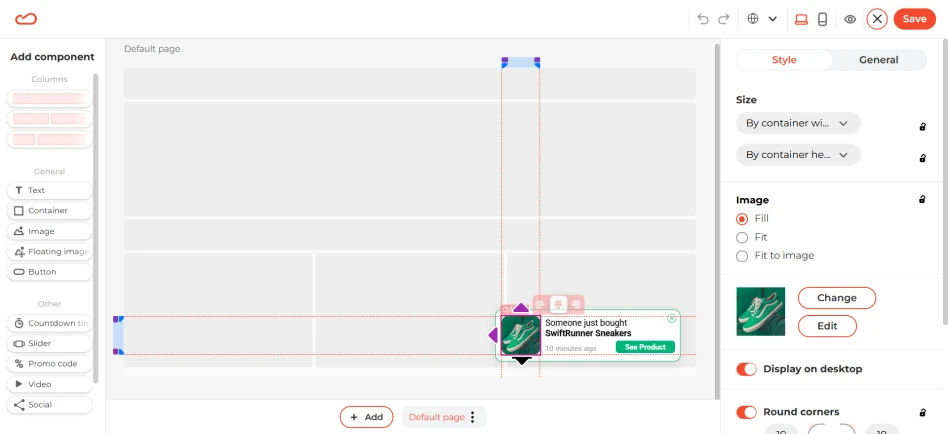
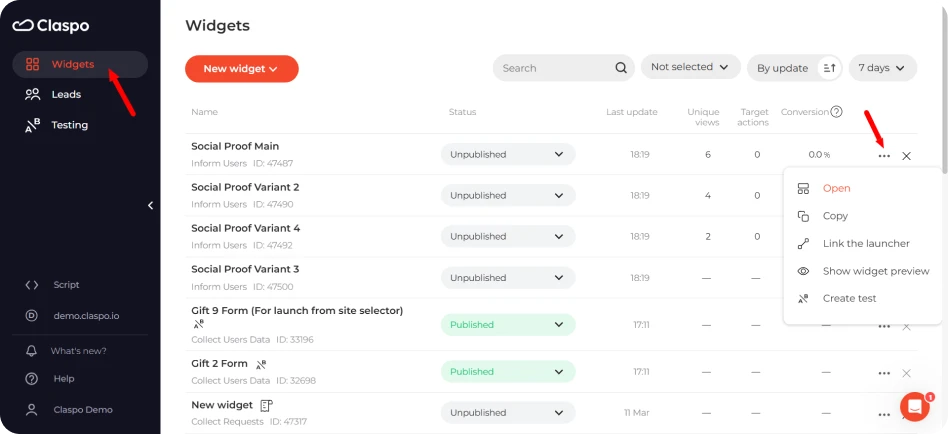
The show sales notification widget should be designed to catch attention without being intrusive. Key design elements include: