What it solves & why businesses use it
A select country pop-up may seem like a small feature, but it ensures that customers get relevant information, localized pricing, and country-specific shipping options:
- From local languages and currencies to region-specific products, pricing, and shipping options, this widget ensures every visitor sees a website version relevant to their region.
- Whether it’s VAT in Europe, GDPR data protection, or age-based restrictions, the country widget helps route users to the legally appropriate version of a website and ensures your business is compliant with regional regulations.
- By offering localized content and pricing, businesses can increase customer satisfaction and conversions, ensuring users are shown what they expect from the beginning.
When & how to use it
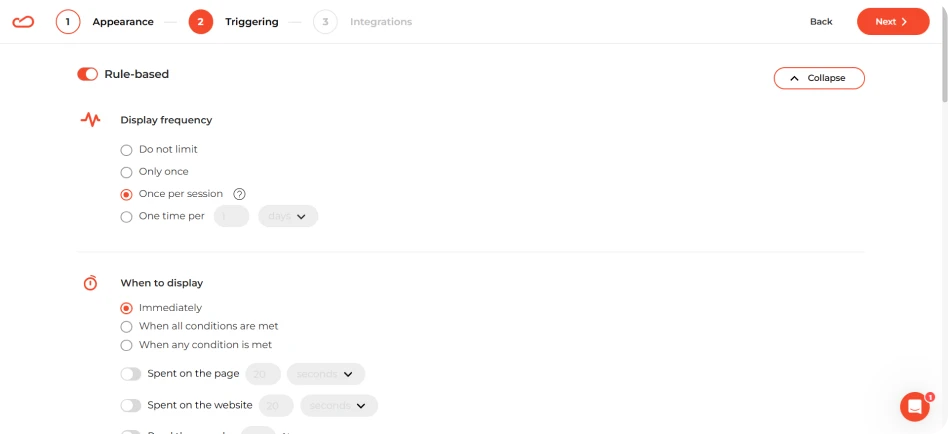
Show the country picker pop-up right after a visitor first lands on your site. The widget should be available site-wide to prompt visitors to choose their country and ensure every visitor sees the right content, no matter where they land.
How it looks
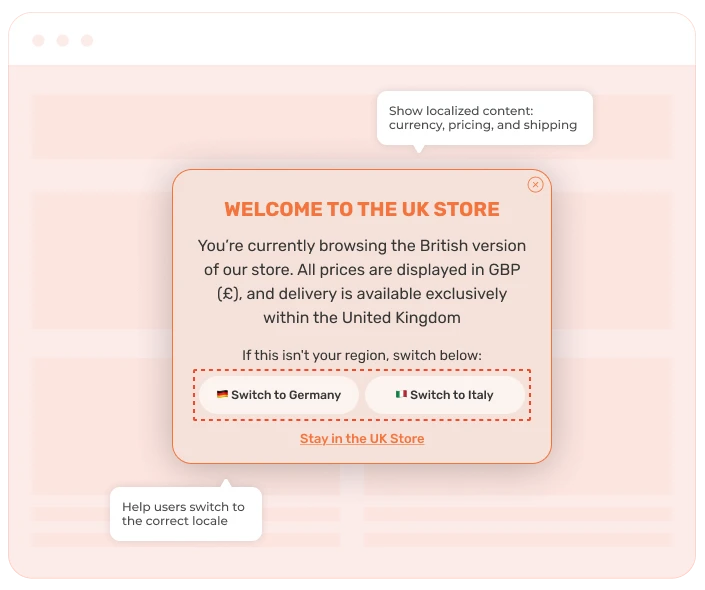
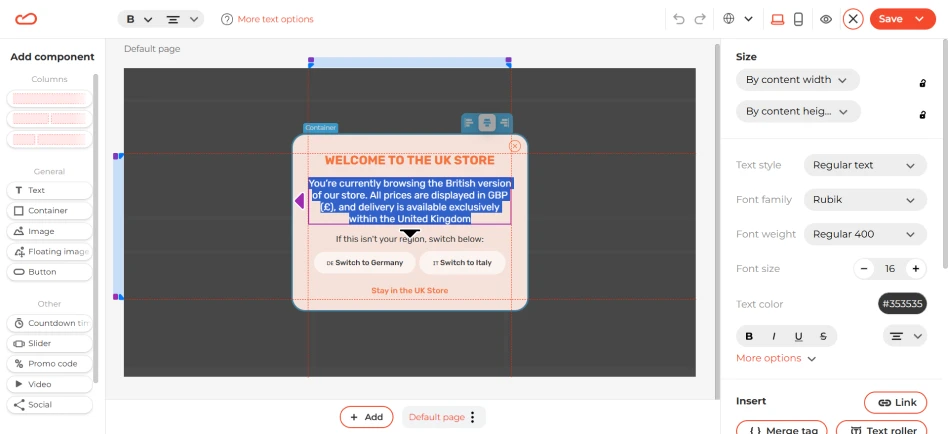
The country select widget should be simple, clear, and easy for users to interact with. Here’s how it typically appears:
- It contains a title or prompt, such as “Select your country” or “Welcome to the US store”.
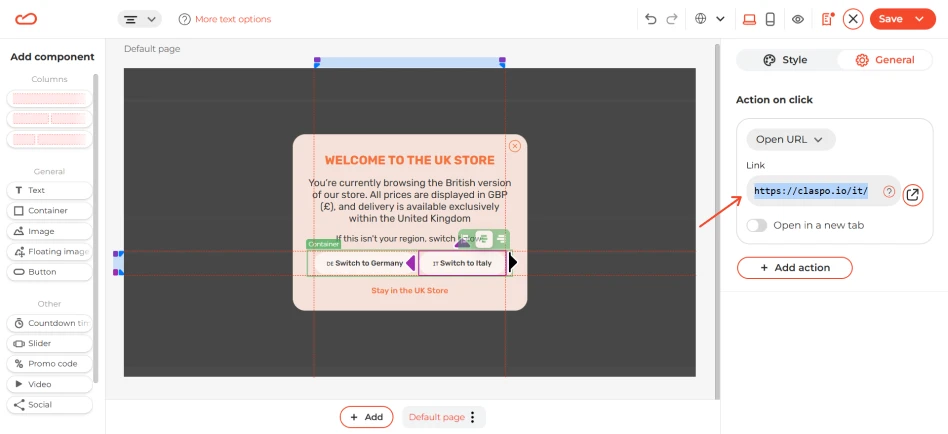
- The widget typically appears as a dropdown menu that displays a list of countries or regions for users to choose from or clickable country buttons.
- Including flag icons next to each country option makes it visually intuitive and helps users quickly identify their country.
- The widget could also automatically default to the visitor’s preferred language or offer multiple language options, ensuring that it is easy to understand and navigate.
- The main content can also outline important information about taxes, shipping, etc.
- A close or dismiss button that enables users to exit the pop-up without making a selection ( an X button in the corner, or a “Continue browsing US store” button).