What it solves & why businesses use it
Lead generation demo request widgets are perfect for B2B companies, SaaS platforms, and service-based businesses where a product is best understood through a hands-on tour. They help qualify leads:
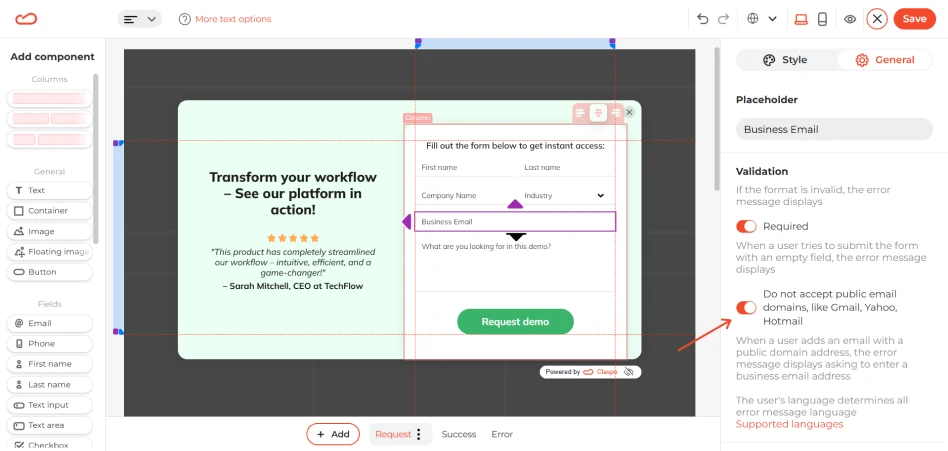
- You can ask for job titles, company names, and work emails to spot ideal prospects faster.
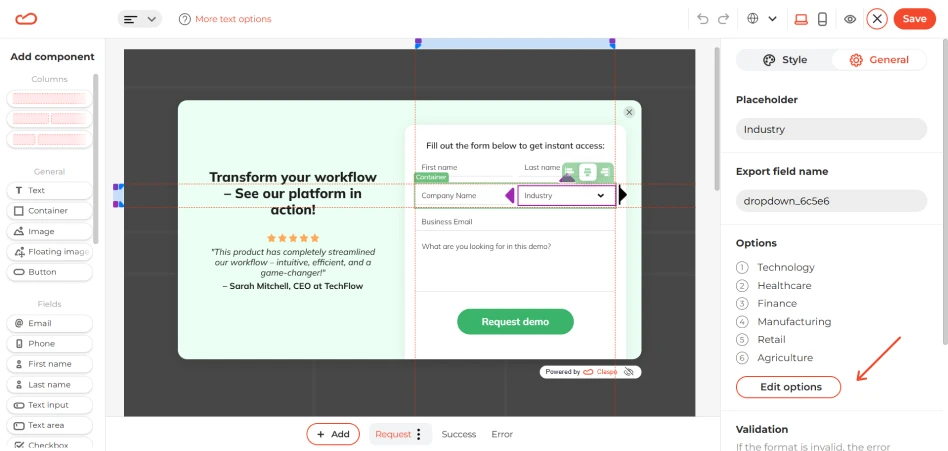
- Segment demo requests by industry, company size, or product interest with custom fields.
It’s not just about getting more leads — it’s about getting high-intent ones, with context that helps your sales team respond faster and smarter.
Recent benchmarks highlight just how strong this intent is in practice. Request-based widgets average a 3.81% conversion rate in the SaaS space, outperforming cold sign-ups. The lift comes from context: when someone actively asks for a demo, they already understand the value and are closer to a purchasing decision.
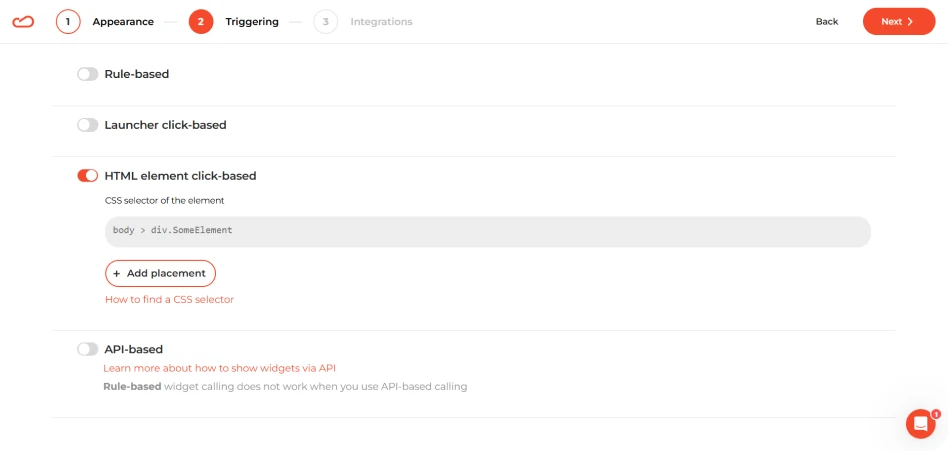
When & how to use it
In most B2B and SaaS websites, lead generation demo requests aren’t triggered by popups in the traditional sense. Instead, companies usually place clear CTA buttons (like ‘Book a Demo’ or ‘Request a Tour’) on the Home, pricing, and landing pages. When clicked, these buttons often open a dedicated landing or a pop-up-style form.
From a UX perspective, embedded forms or on-click popups feel more intentional and less intrusive — ideal for B2B visitors who are exploring with purpose. From a marketing perspective, the goal is quality over quantity. Visitors who actively click ‘Book a Demo’ are more qualified and motivated. Here is how you can use these layouts:
- Built-in forms work best for pages dedicated to demo requests or lead capture.
- Popup-on-click forms are ideal for product, pricing, or feature pages where the user is in research mode.
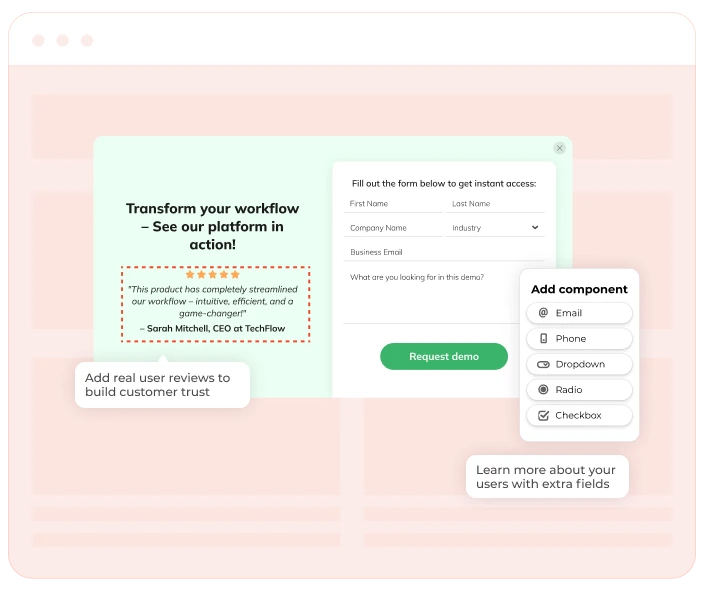
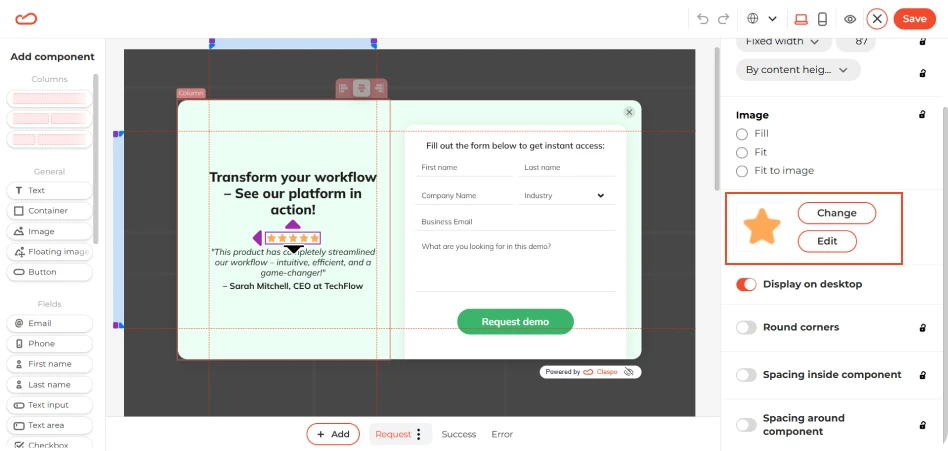
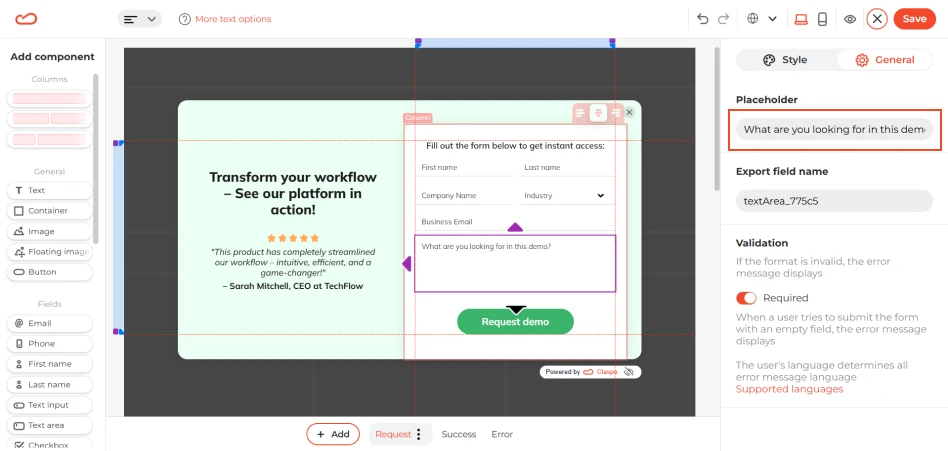
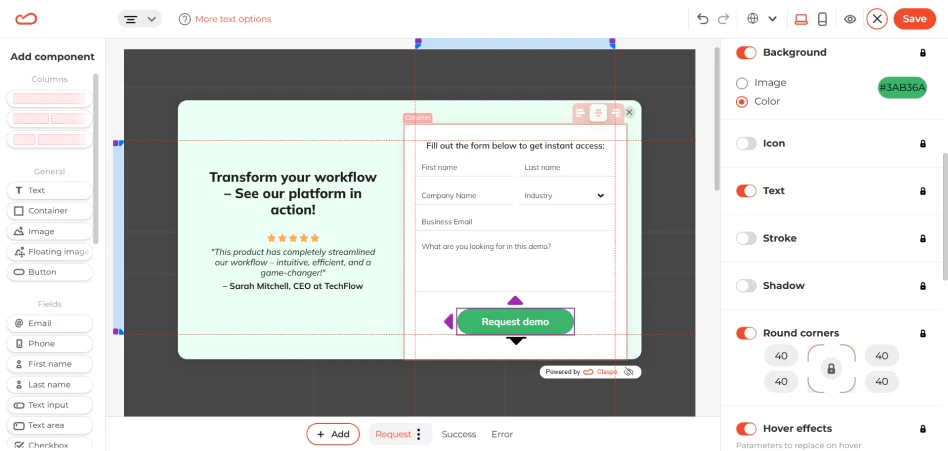
How it looks
Your demo widget should feel like a smooth entry point. A simple single-step form is all you need, with initial fields:
- Name (for personalization).
- Work email (to qualify the lead and avoid personal accounts).
- Company name (optional, but helpful for B2B filtering).
- Phone number (only if your sales process includes calls).
Add a dropdown to let users choose their industry or area of interest. It helps with lead routing and makes your reply more relevant. And don’t forget about a friendly headline and a clear CTA button.
Important: if you’re collecting personal data — especially in regions like the EU (GDPR), UK (UK GDPR), or California (CCPA) — it’s essential to show a clear link to your Privacy Policy right in the widget. Place it directly under the CTA button.
Pairs well with
For visitors who aren’t quite ready to book a call but are still interested, lead magnet popups offering helpful content (like guides or checklists) can keep them engaged. And after the demo, a simple Get a quote widget is a natural next step — it helps move the conversation forward, showing you're ready to offer clear value and tailored pricing.