How to set it up
In just a few simple steps, you can set up a customer callback widget to connect with your visitors — whether they need a quick answer, have product inquiries, or want personalized assistance.
Step 1: Select the template
Choose the design that best fits your website and the layout that aligns with your goals. With Claspo, you can easily customize it to match your brand’s style and optimize it for maximum impact.
When starting, make sure to enable the launcher. You will need it later in the display rules.
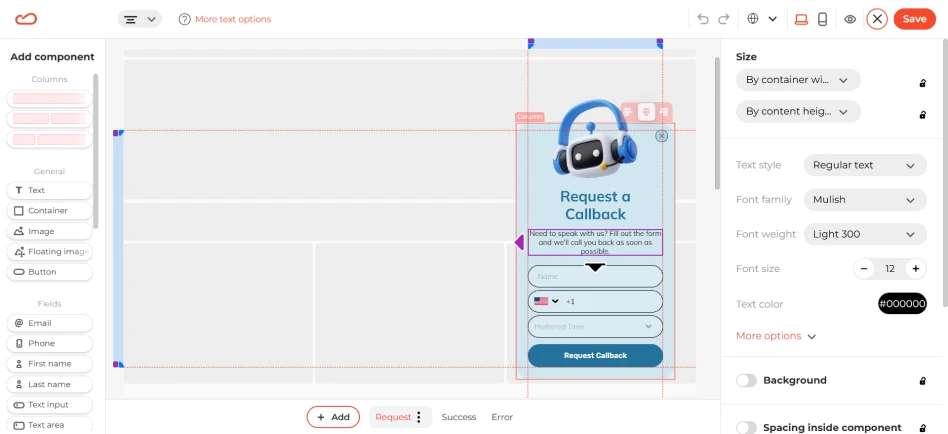
Step 2: Customize it
Make all the basic customizations, like adjusting colors and editing text on buttons. To change any text, just double-click on it and type your own.
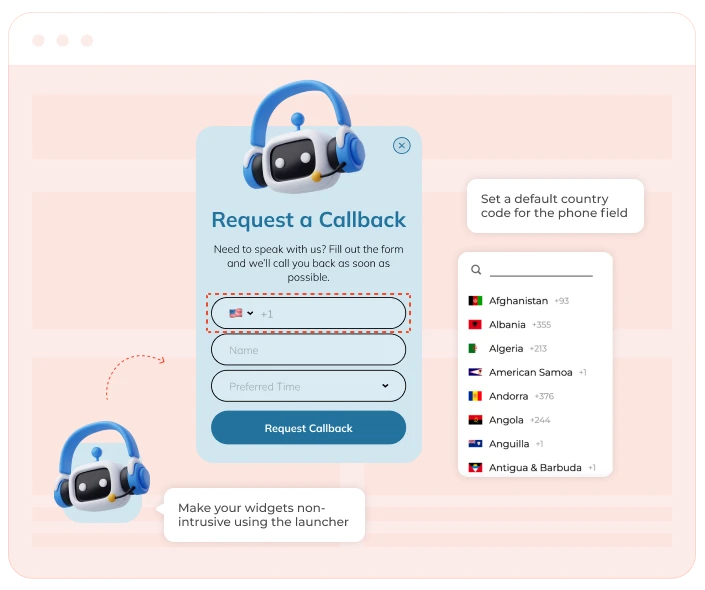
You can also set a default country code for the phone field. To do this, click on the phone input field, go to the General tab, and select the desired country code. Don’t worry, website visitors will be able to choose their country code, regardless of the default one.
Make any other adjustments as you see fit.
Step 3: Set up display rules
We suggest using the callback chat widget teaser for the best user experience. A teaser can be placed sitewide since it doesn’t interrupt website usage. It gives users the freedom to start the chat when they need to.
However, you can also enable a time or scroll trigger to run in parallel. The chat widget will appear on scroll or after a certain amount of time, encouraging to start a chat with a representative. Users will also have the option to reopen the widget using the launcher.
Step 4: Integrate your marketing tools
For CRM systems, we offer a wide range of built-in integrations so the data can instantly land in your CRM, where the team can manage contacts. For telephony systems, you can set up an integration using webhooks.
Now, publish the widget and the launcher, and you have yourself a website callback widget!